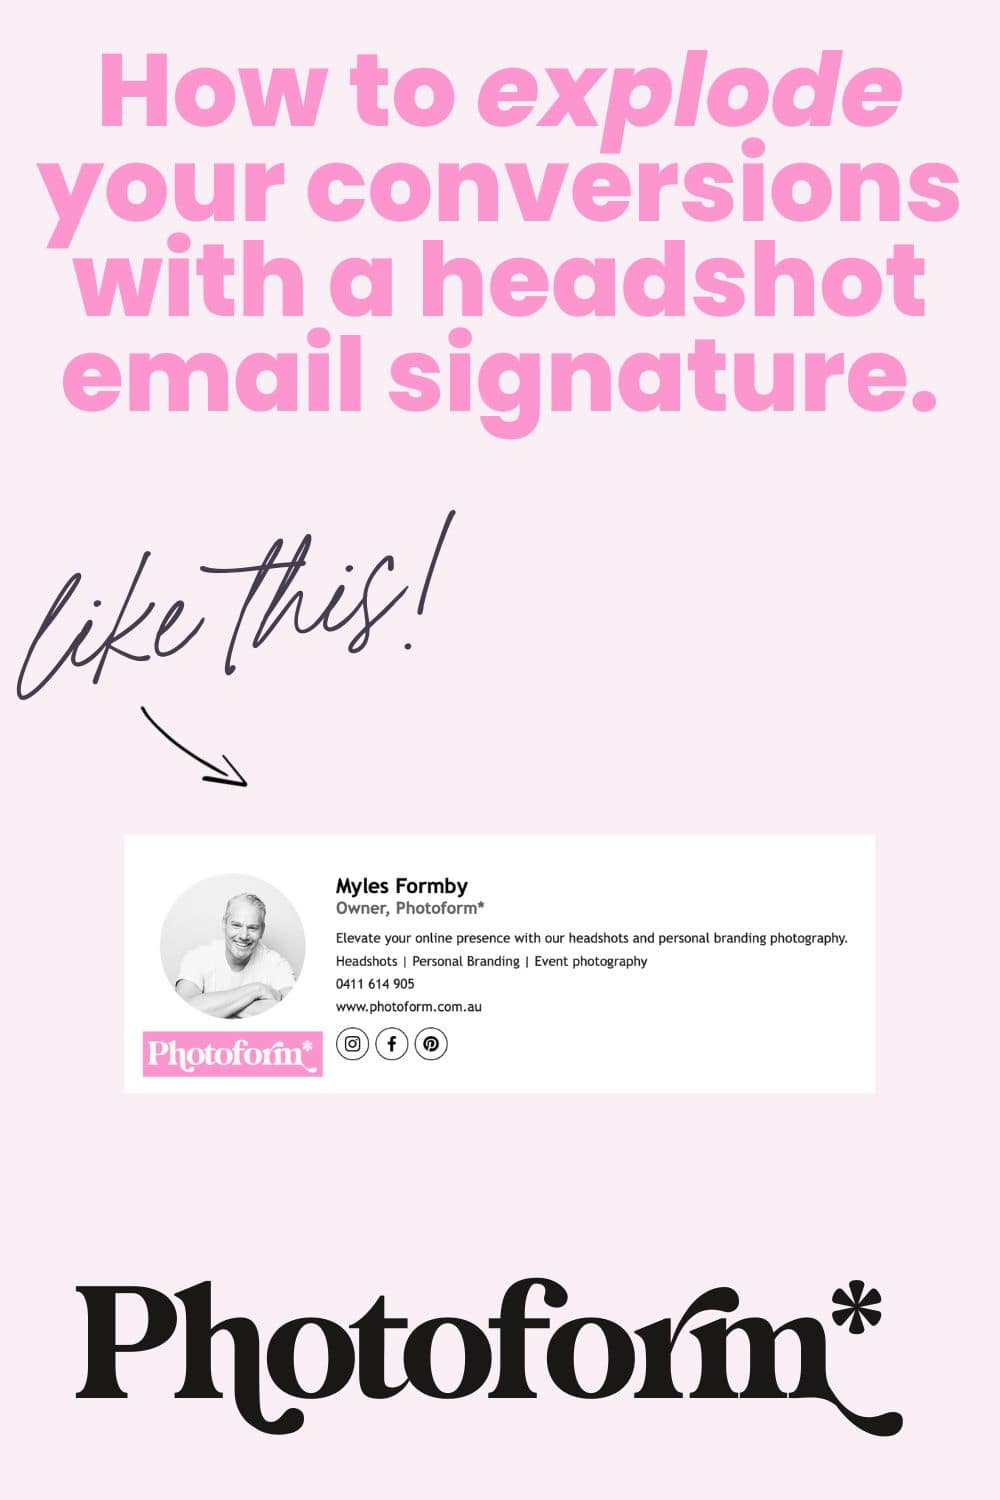
How to explode conversions with a headshot email signature
But why why why should you use a headshot email signature?
Really simple. A computer and email is cold and impersonal. A headshot photo is a little instant humanity and personality in your email message.
Let’s say you’re cold emailing potential clients. If you’ve got your smiling headshot in your signature – boom boom shake the room! Straight away you’re a person and not just a name.
Everything my business does is about bringing you or your team’s face into your emails, your website, your LinkedIn or your socials so potential clients can see you.
Take a sneaky peek at the Photoform* headshot and personal branding photography magic.
I’ve even taken it one step further and have an animated GIF as my email signature. Straight away potential clients see who I am and get a glimpse of my personality.
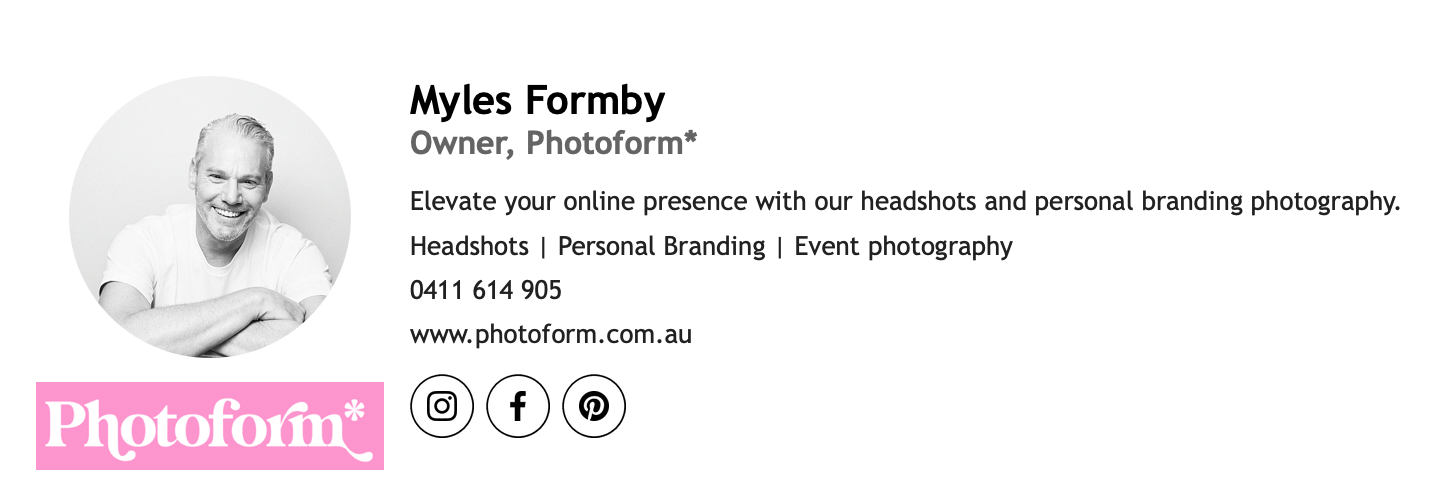
How can you make a cute headshot GIF? Well funny you should ask, I have another how to blog post on that. I got you babe:
How to make a headshot GIF in Canva.
What should you put in your email signature?
Mine has a headshot, my logo, a slogan, a summary of my services, contact details and social media icons. The logo and the headshot are hyperlinked to my website.
Keep it short, snappy and memorable. Every touch point for your business is a branding opportunity so keep it on brand and on message. Make your email messages reflect you.
Edit VERY CAREFULLY. You do not want spelling or grammar mistakes or faulty links in your signature.
Ways you can make a headshot signature:
- Manually in a Google Doc. Ok this is really hard. I tried to do it and ended in a foetal position in the corner of my room. I was crying and swearing that I would never use email again and all communication henceforth would be via pigeon only. Do not recommend.The kids over at Tonic Site Shop have more patience and more success at manual email signatures than me so check out their blog post on making an email signature in Google Docs. Customise your email signature in 3 minutes by Tonic Site Shop.
- The easy way through a service like Wise Stamp.There’s many other services who do it but Wise Stamp make it easy-ish. I say ish because like anything techno related it comes with frustrations.
Let’s go with Wise Stamp for my email signature. How do I do that?
Ok you’ve decided on Wise Stamp. I’m going to help you navigate that. They have a blog post on how to use your company logo which is as confusing as hell. I’ll put the link here but I think you should ignore it and I’ll distil the information for you.
Wises Stamp’s confusing as hell blog post on inserting your company logo into your email signature.
They have a bunch of templates for email signatures. Try different ones with your logo and headshot and see which layout you like the best. I’m a minimalist so I always go for layouts with the least adornment. But you do you, boo. Just be on brand.
Optimise your logo and headshot for the win:
The devil (or God depending on your faith) is in the detail. It’s important for your signature to look good, your logo is crisp and your headshot sharp. So let’s jump in.
The devil is in the detail – headshot and logo dimensions:
When we talk about image file dimensions there’s 2 sizes that matter (don’t be creepy) – pixel length and file size or weight. Weight is how much disc space the file takes up. Pixel length is how long or wide it is.
With everything that goes on the web, you are always playing a compromise game. The best quality images are the highest resolution but that means a bigger file size. So we compromise and aim for the best quality at the lowest possible file size. But go too low in file size and the image starts to lose sharpness and look a bit blurry. Aways aim for the highest viewing quality for the smallest file size without sacrificing too much quality.
I always say a rough guide to choosing a photographer is to go to their website. If their images don’t look sharp or take forever to load – please don’t hire that photographer. They clearly don’t care about or understand the little details and don’t deserve your money.
Length is usually measured in pixels and file size is usually measured in kilobytes (kb), megabytes (mb) or gigabytes (gb).

After reading Wise Stamp’s blog post about 100 times and many emails to their help desk I worked out the best size. Make both the logo and your email signature headshot 400 pixels on the longest edge. I work hard to make sure the information I give you is useful and accurate.
So if it’s a square logo or headshot make 400 pixels long by 400 pixels long.
If it’s rectangular make it 400 pixels by 300 pixels (or whatever the ratio is you are using).
File formats for your logo and headshots:
The best formats for logos are vector formats like SVG. But a lot of email software doesn’t support SVG so next best is PNG. Save your logo as a PNG. Make the background white so you won’t need to make it transparent. Transparent PNGs are a bigger file size and ain’t nobody got time for bigger files.
Save your headshot as a JPG. Simples.
How do you save an image file as a different format? When you download the file in Canva you will have options for the format there. And in Photoshop you can Save As and choose the format. Take a deep dive into image file formats here:
Wikipedia article on image file formats.
Square crop your headshot for your email signature:
I recommend using a square crop for your headshot. Lucky for you, if you hire Photoform* all our headshots are social media ready in a square crop format.
But if you didn’t hire us (boo) you’ll need to crop your headshot. Make sure your lovely head is in the centre and middle of the picture.
This might seem like obvious stuff. But you’d be amazed (or maybe you wouldn’t) by the shocking things I see people do to pictures. Like everything the devil (or God depending on how you look at it) is in the detail. I write all my blog posts for consumers in mind and not professional photographers. We all have to start somewhere, right?
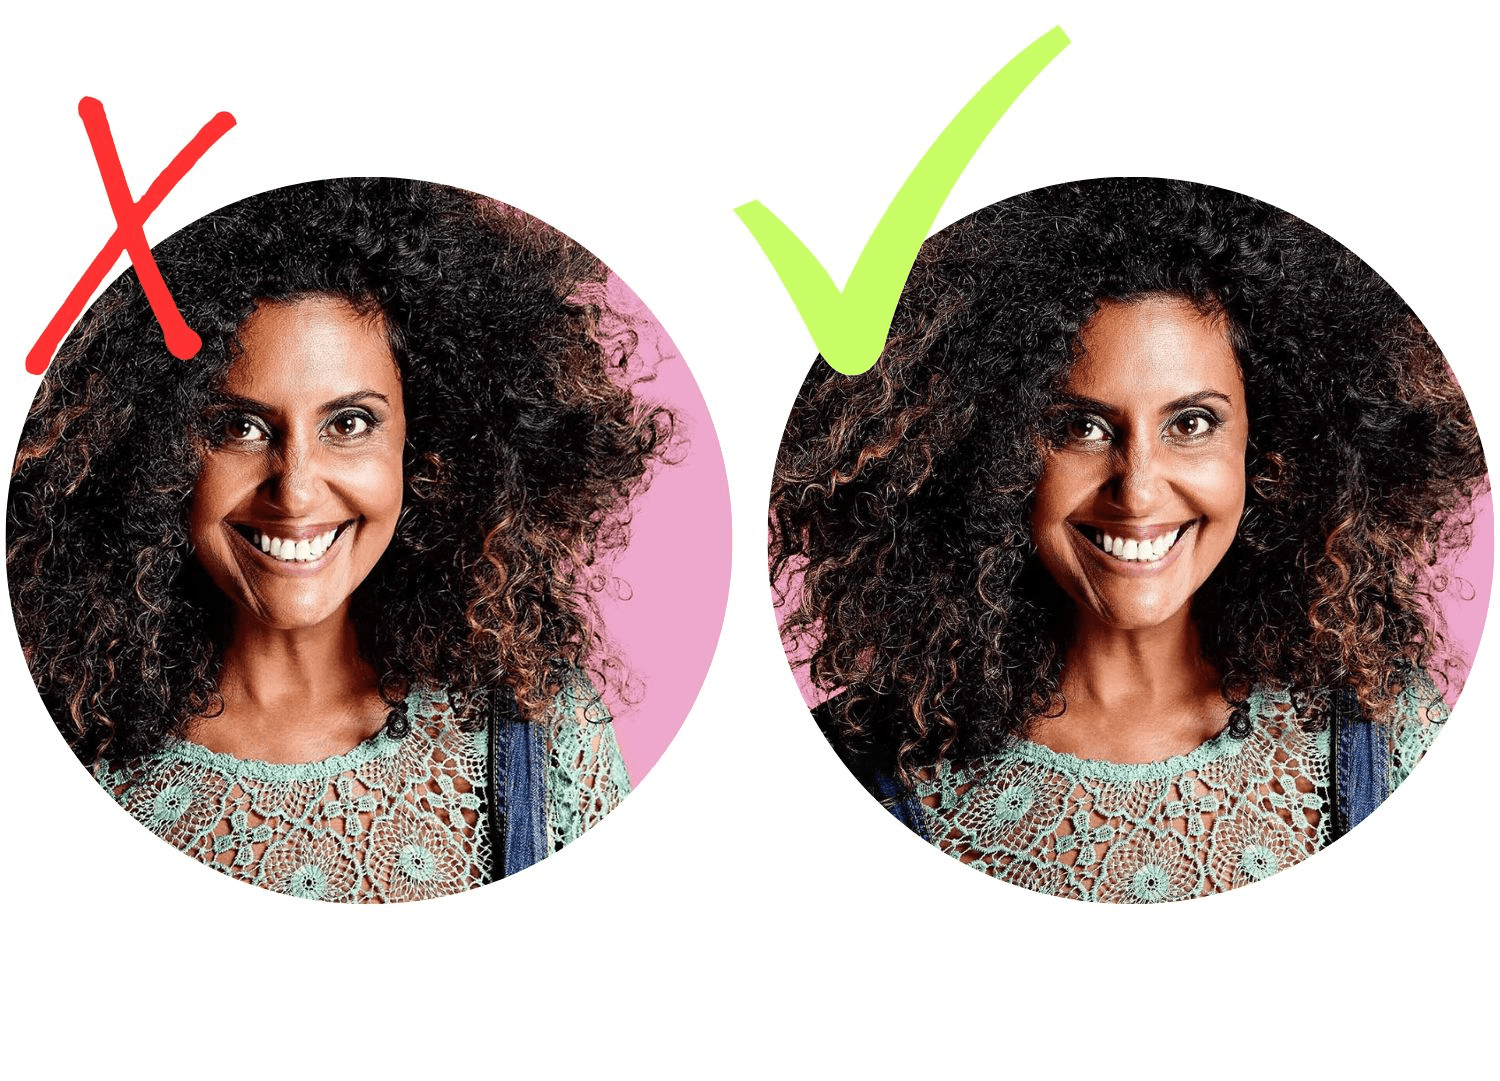
So let’s say we start with this gorj image of Nat Gillespie by Photoform* with an off centre crop:

If we don’t fix the crop this is how the image will insert into your email signatures. And on the right is how it should look, obvi:
If you are using Wisestamp you will be able to crop the image within the signature assembler:
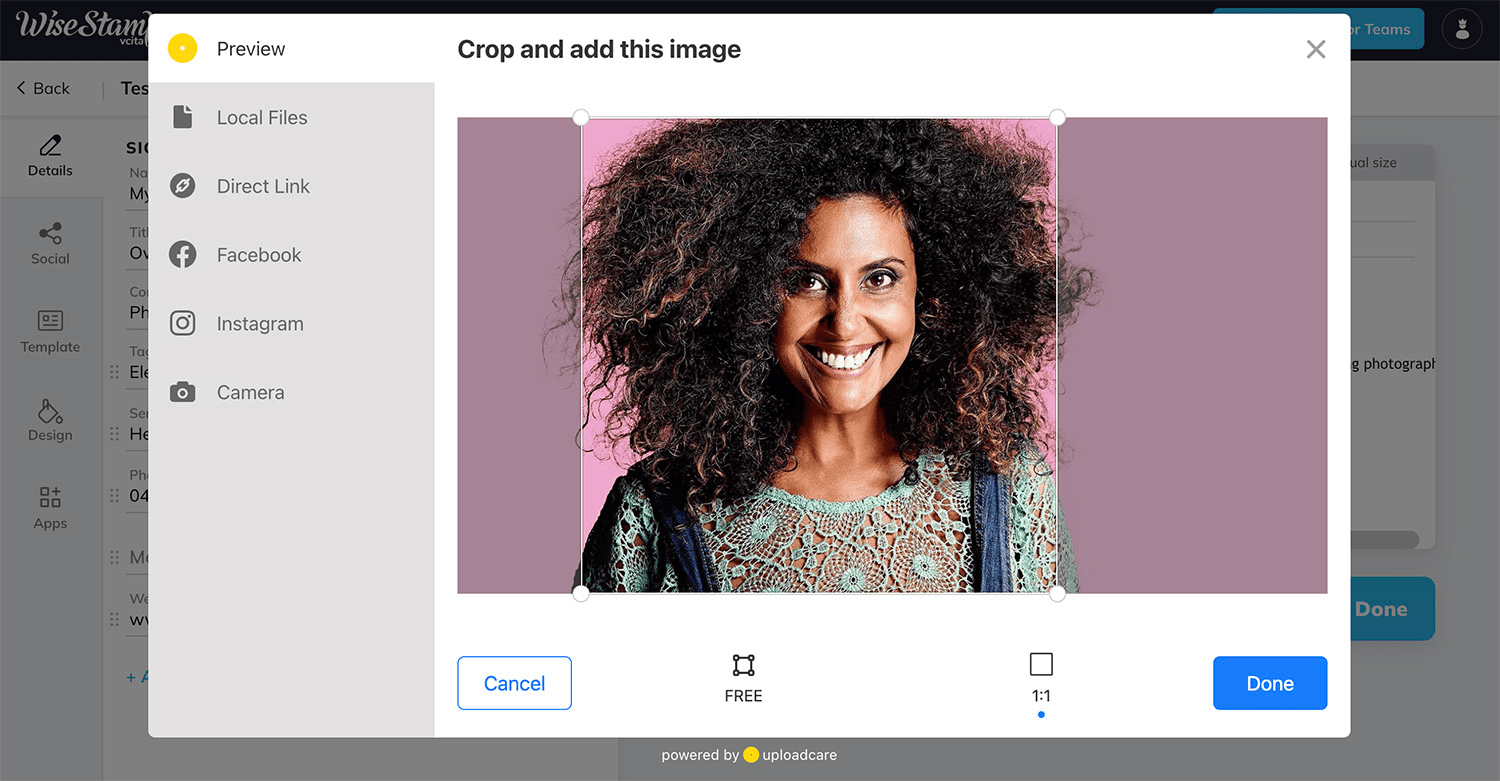
Use the 1:1 crop box that you see on the right. It can take a few goes though because there’s no guide marks showing centre of the image.
A better way to do it is either in Photoshop or Canva where you get guides to show you where to crop. Make sure your headshot for the signature is in the centre using the vertical guides:
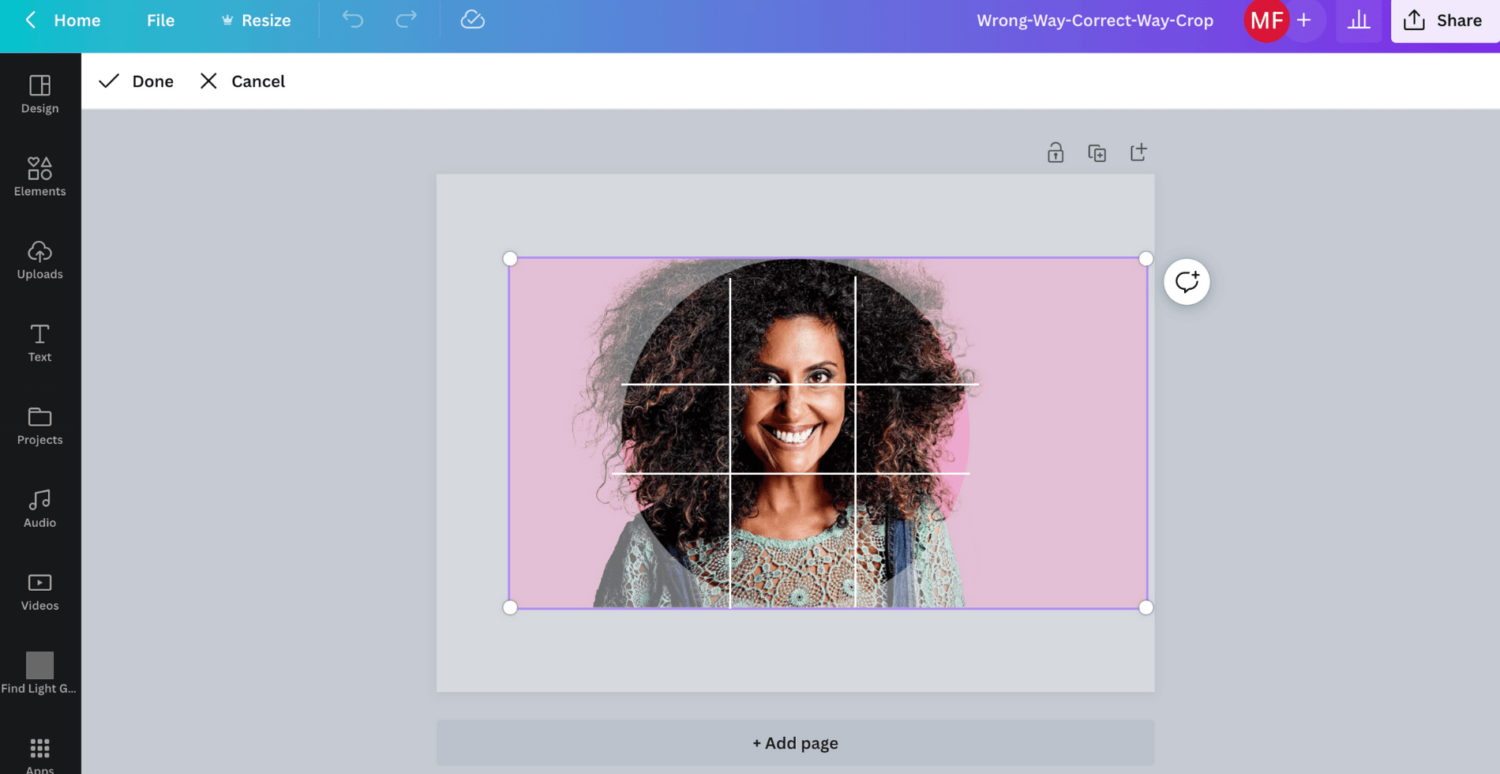
See that? Eyes right in the centre – exactly where you want them. Don’t worry so much about the horizontal guides. As long as all most of the head is in the frame it’s fine. The vertical guides are the ones that matter the most.
How to put your image files on a diet:
As mentioned earlier we want the smallest file size possible. WISE STAMP RECOMMEND LOGO AND HEADSHOT FILES NO GREATER THAN 120 KILOBYTES (KB). This is in caps cos it’s very important boo. Even smaller than that is better.
If you have resized your file in Canva or Photoshop and it’s still too much weight, you can reduce the file size in TinyJpeg. TinyJpeg is awesome, free and super simple to use. I use it to optimise all my image files on my website.
Test test test test your email signature:
Once you’ve finished setting up your email signature in Wisestamp, you will then follow their instructions on installing it on your phone, your laptop and desktop computer. I’m not going into that but they have guides:
Installing your email signature on various platforms.
But once you’ve installed it, test test test. Send an email from your phone to your cat. Send one from laptop to your granny who uses Android. Send one from your desktop to your assistant who uses Iphone.
Check that everything is working and your logo and email signature looks slick and sharp.
And that’s it!
And if you’re in Melbourne and need gorgeous new headshots or personal branding photography? Don’t be a stranger and come check us out:
Photoform* headshots and personal branding photography Melbourne.
Published by
Myles Formby is an award winning headshot and personal branding photographer based in Melbourne. He is the founder of Photoform*.
His work is technically precise and full of life. He has developed a reputation for extracting natural performances on camera from anyone.
He has worked as an editorial and fashion photographer and has a deep understanding of colour and lighting.
He's been published in Vogue and worked for national brands like Westfield and JB Hi-Fi.
Copyright Myles Formby Photoform* 2025. All rights reserved. Unauthorised use of images and content is prohibited without prior written permission.
share this post