Create trust with a headshot photography GIF:
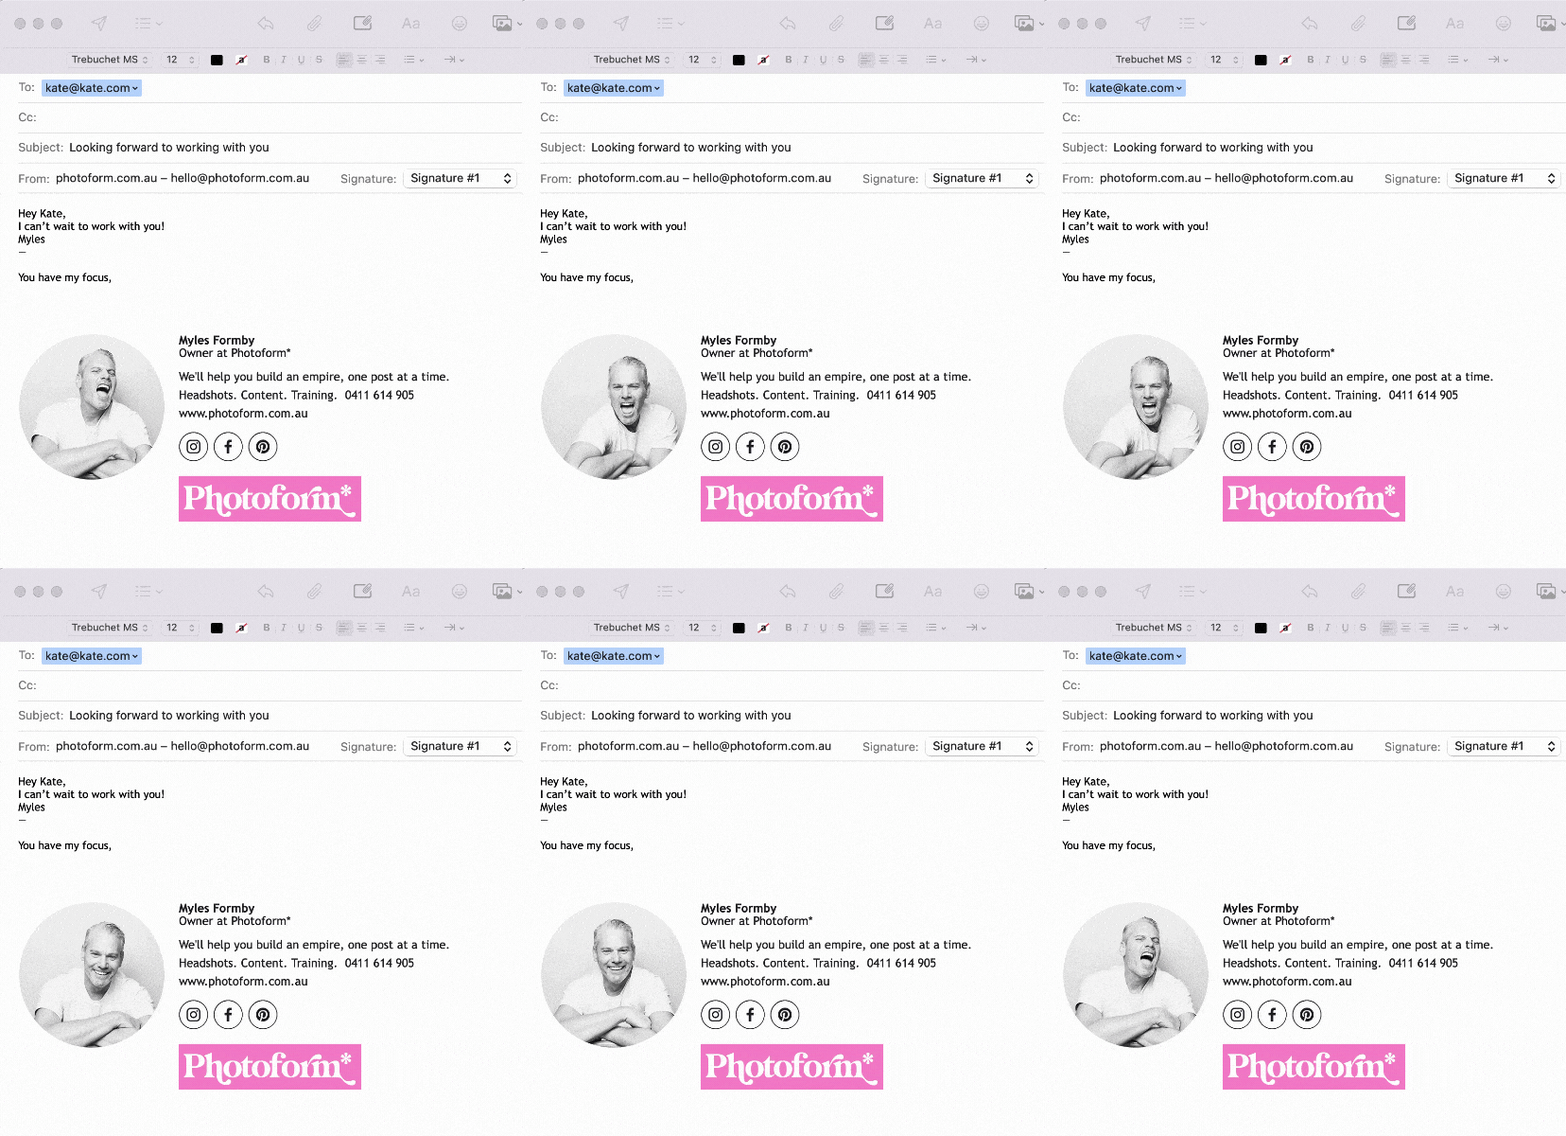
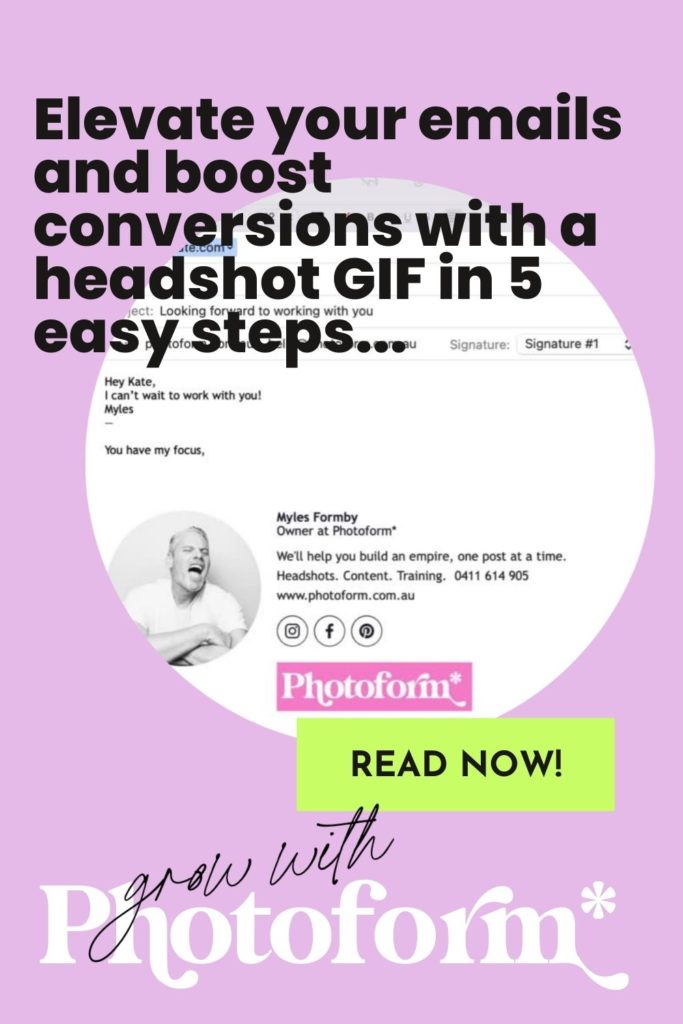
Since I changed my email signature to a headshot GIF, my conversions from headshot enquiries have skyrocketed. Why? Photography is such a personal service and it creates immediate trust with potential clients if they see my face the moment we make contact.
Another reason to use a headshot GIF? – “I just spent $XXX on gorgeous new headshots and now they are buried in the company About Us page (almost) never to be seen again.”
Don’t be that guy/girl/non-binary! Use your headshots! I’m a huge advocator for using your headshots as much as possible. Obviously because I’m a headshot photographer and because it just makes business sense. Maximise your ROI and squeeze every drop of value out of those puppies.
One of my favourite uses for headshots is turning them into a short (think 2 seconds max) GIF or short video. There’s so many ways you can use a headshot GIF. (As an aside is it pronounced hard G or soft J? Technically it’s soft J but you do you, Boo).
You can use a GIF all over your socials – Instagram stories, reels, posts, Tik Toks etc. You can use them on your website. I have the GIF I’ve used in this tutorial in my website About Page as a hero video. It’s a great way to add movement to your site but the file size is TINY – great for SEO. Size matters! That banner video is a tiny 281 KB but 2000 pixels wide – OMG.
I also did a whole post on embedding video into a Showit website (or any site) which you might be interested if you want a deep dive into this subject: Embed Showit hosted video in Your Showit website in 5 steps…
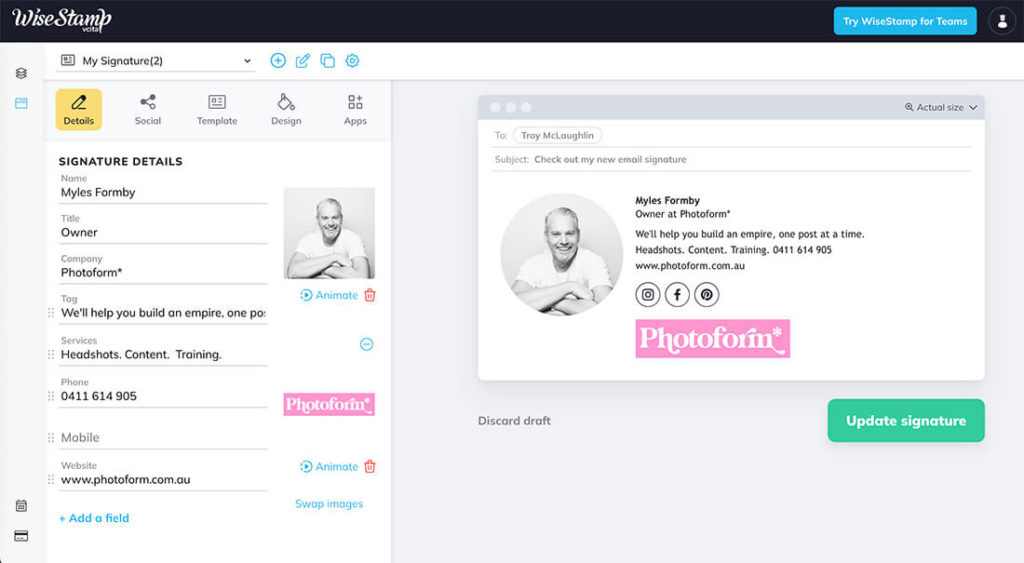
But in this post we are going to first create the GIF in Canva, then embed it into an email signature in Wisestamp (paid subscription required).
Step 1 – Create your headshot photography GIF in Canva
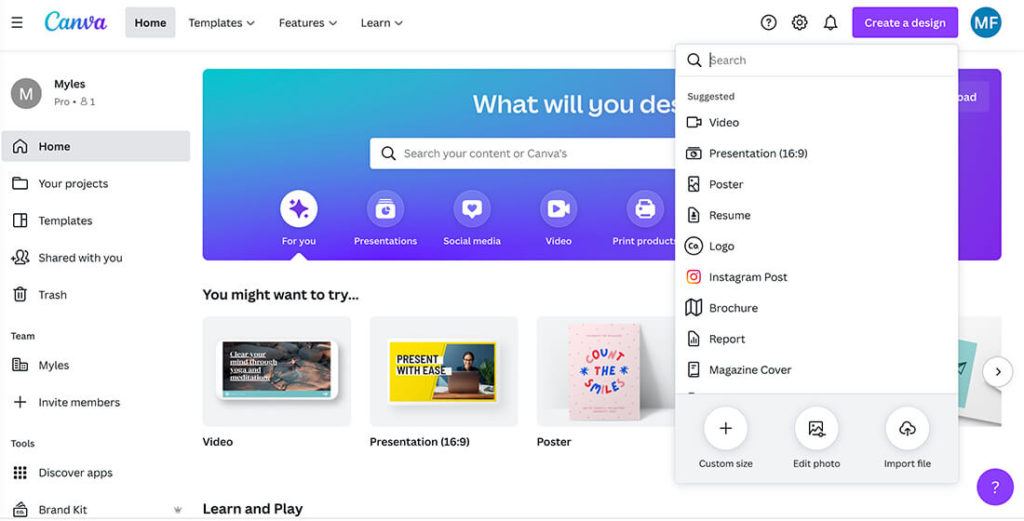
In Canva click on ‘Create A Design’ (top right) and select ‘Video’. There’s many ways to create GIFs. You can use Adobe After Effects, Adobe Premiere for example. I find the Canva one great to create them quickly. On the plus, it’s quick and easy to use, on the minus you don’t have any control of file output quality settings so only suitable for small GIFs. If you don’t have After Effects or other and you want to get the GIF sizes down give EzGif a go. I’ve made the file 600 pixels square. Also, make sure your subject is dead centre, especially if the final output will be a circle.
Step 2 – Upload your image files to Canva
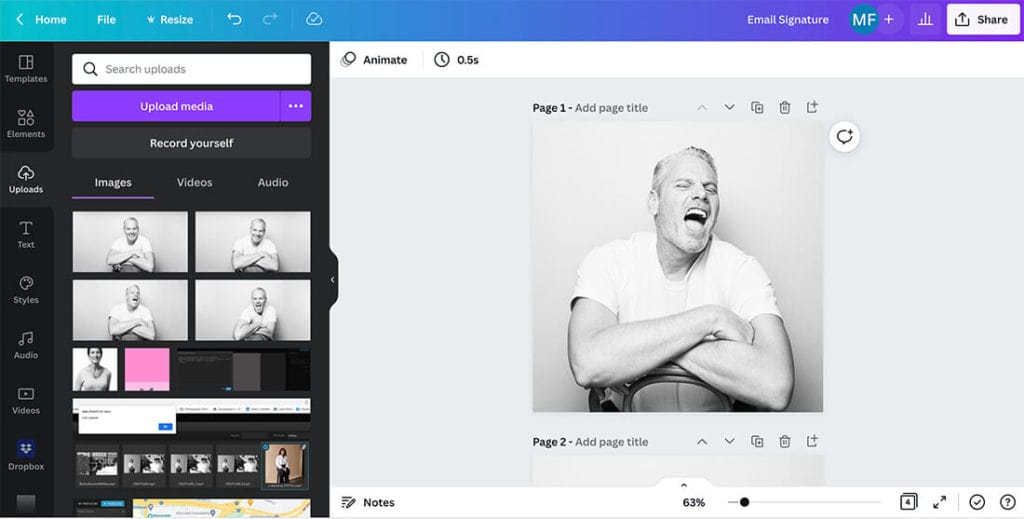
You’ll need about 3-4 image files to make the GIF or video. If you’re about to have a headshot session, tell your photographer you’d like to make a GIF before your session. Then they can shoot a series of images designed for the GIF. You’ll need something with energy and movement. Think about your brand voice and make sure it aligns with that. Better yet, book Photoform* for your headshot session and we can do everything for you! Come on, you don’t begrudge me a little plug do you?
Step 3 – Create a new page for each image and set your frame timings
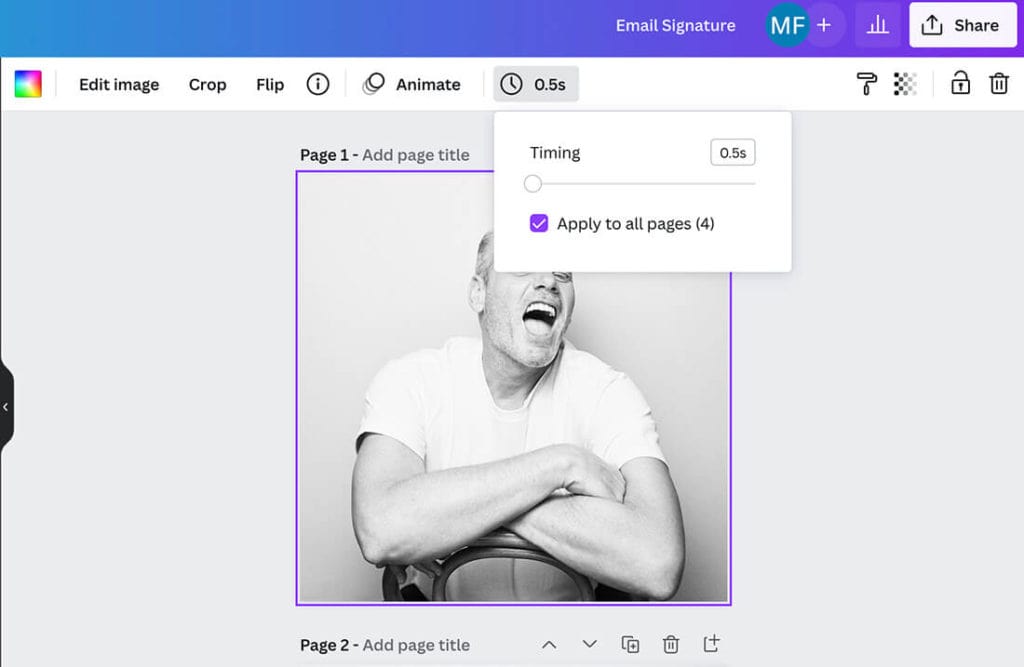
You might need to experiment with your timings. It will depend on how many images in the series and the final usage. You don’t want the final file to be too jerky or distracting if it’s going to be used in an email signature. But you also don’t want it to be too slow. I’ve found .5 seconds per frame to be good. In Canva click on the stopwatch in the top centre, set your time and ‘apply to all pages’, and you’re done! Then you just need to name and download your file as a GIF or video file.
Step 5 – Create an account in WiseStamp and upload your headshot GIF
I’m not going to describe all the steps to create your signature in WiseStamp as they have oodles of documentation already. The main thing you need to know is just upload your GIF into the section where the email signature image goes.
Then adjust your email signature to your liking. Side note – I’m not paid by WiseStamp for this blog post!
share this post