
How to use your headshots to make pop art social media and blog covers in MidJourney
I’m a bit over seeing really boring AI artwork on LinkedIn and social media. So let’s spice it up a little.
What you need first though is a really strong headshot to start. I recommend professional photos. I’ve noticed the stronger the seed (starting) image, the better the result.
Let’s run through the basics of setting up MidJourney. Be warned, MidJourney is a little geeky and not so user friendly.
So be prepared for a learning curve, but I think it produces the best results out there. Be patient. Once you get the hang of it you’ll be an expert in no time.
I’m going to briefly run through the steps, but if you want a deep dive check out this intro video.
- Create a Discord Account – Sign up for free at discord.com. Download the app for your computer whether it’s Mac or PC.
- Join the MidJourney Server – Visit midjourney.com This will redirect you to their Discord server.
- Subscribe to a Plan – MidJourney needs a paid subscription. Choose the best plan for you.
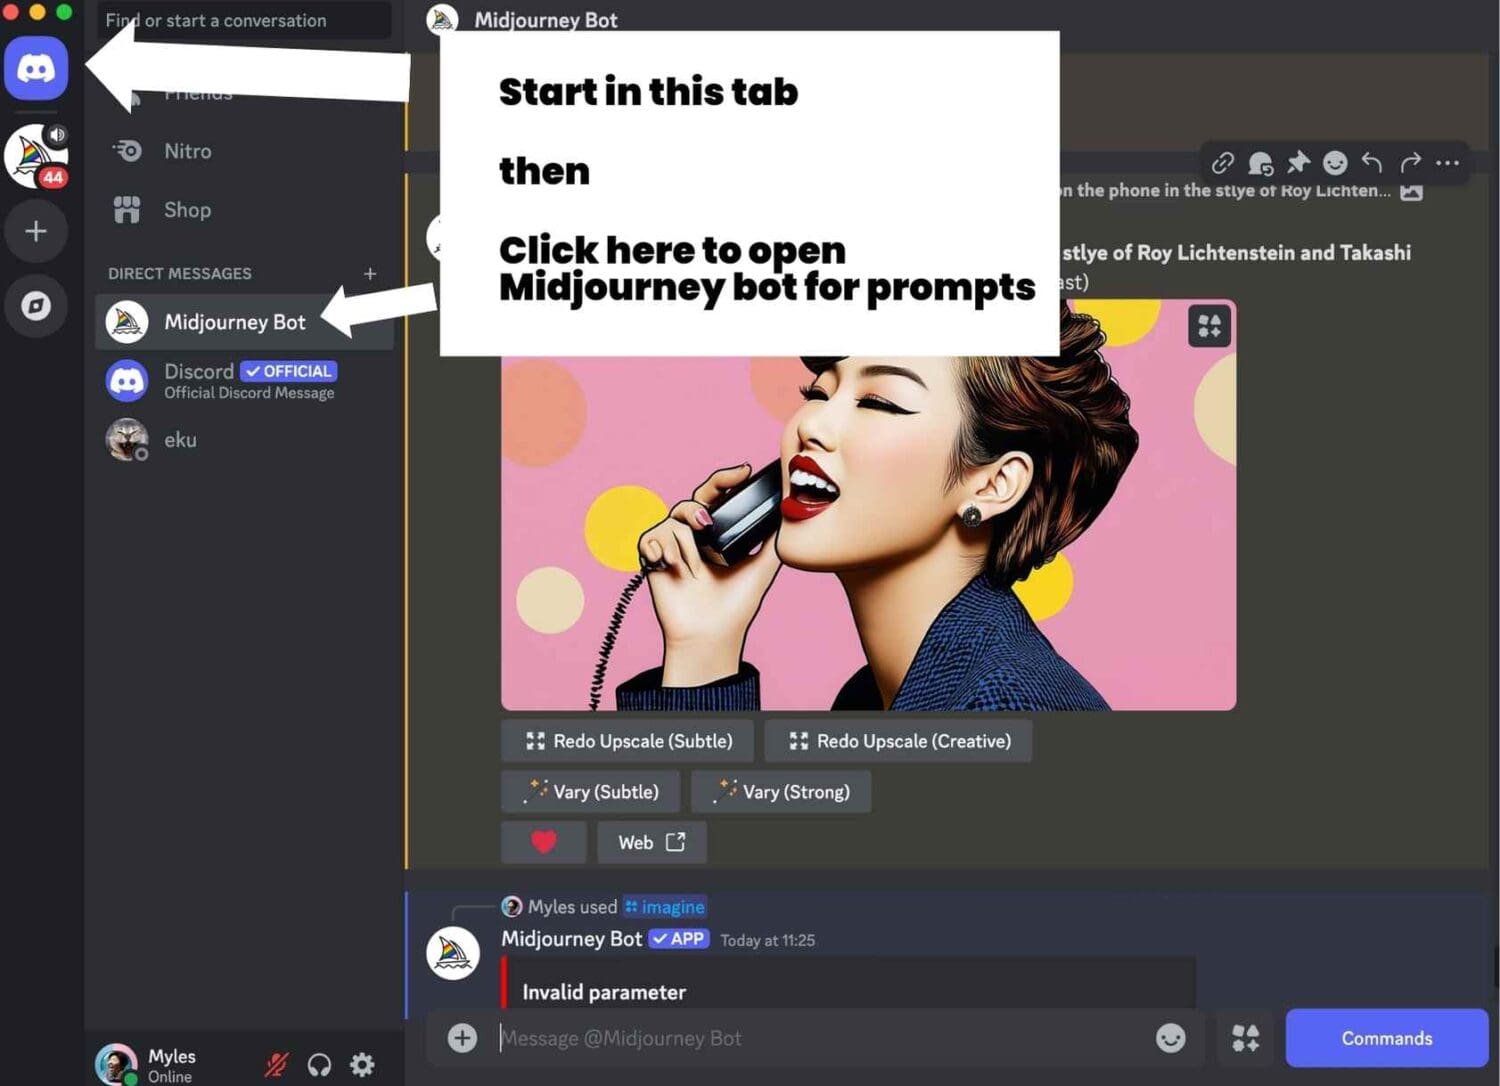
- Start Creating – Once subscribed, you can generate images by using the
/imaginecommand in a private DM with the MidJourney bot.
The last bit ‘generate images using the /imagine command’ confused me when I first started.
How do I get to that I wanted to know?
See below:
Now let’s get to the fun stuff of creating images. I’m gonna break it into easy steps. MidJourney has some peculiarities which I’ll talk you through.
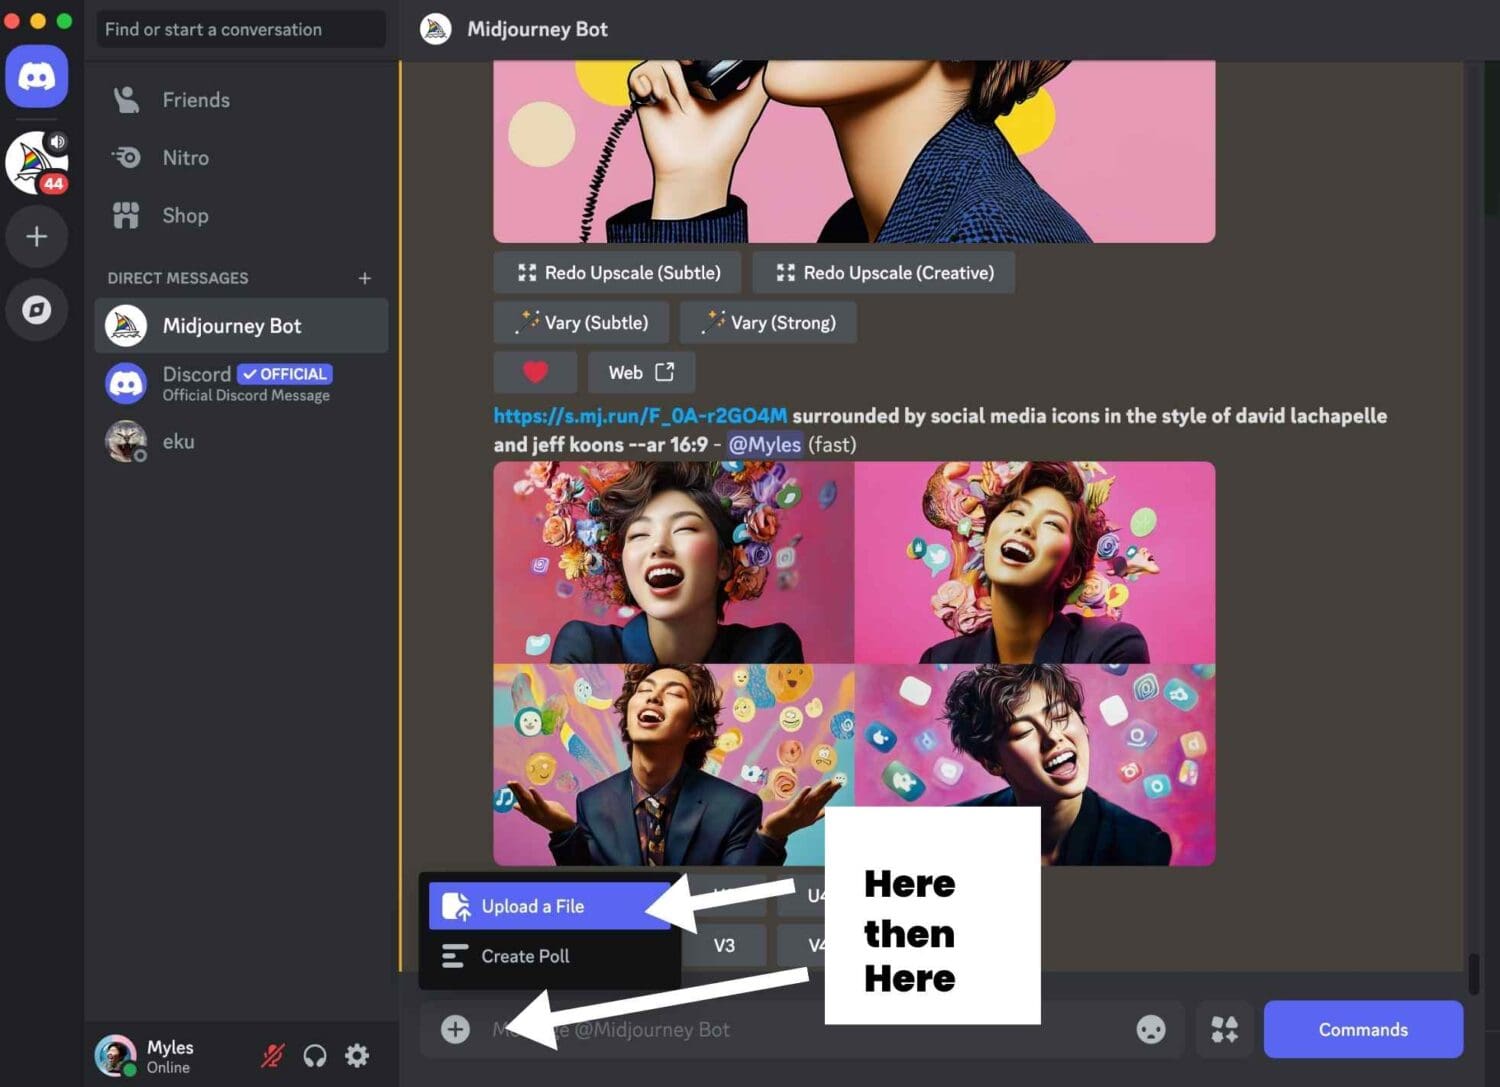
Step 1. Upload your starting image.
A couple of tips for a starting image.
If you have a brand colour, use that as the dominant colour in your image, like the background. It will make it a lot easier to keep brand colours consistent. Change the background colour in Canva or Photoshop if it’s not. And secondly, the stronger the starting image, the better your results will be. All art works best at a starting point of truth.
And of course if you’re in Melbourne and you need some strong starting images (or just some sleek headshots), you know where to come! (Hint, it’s Photoform*).
After it’s uploaded there’s one last thing that confused the hell out of me when I started.
You need to hit enter/return to finish the process! Gargh, it’s the little things we stumble on.
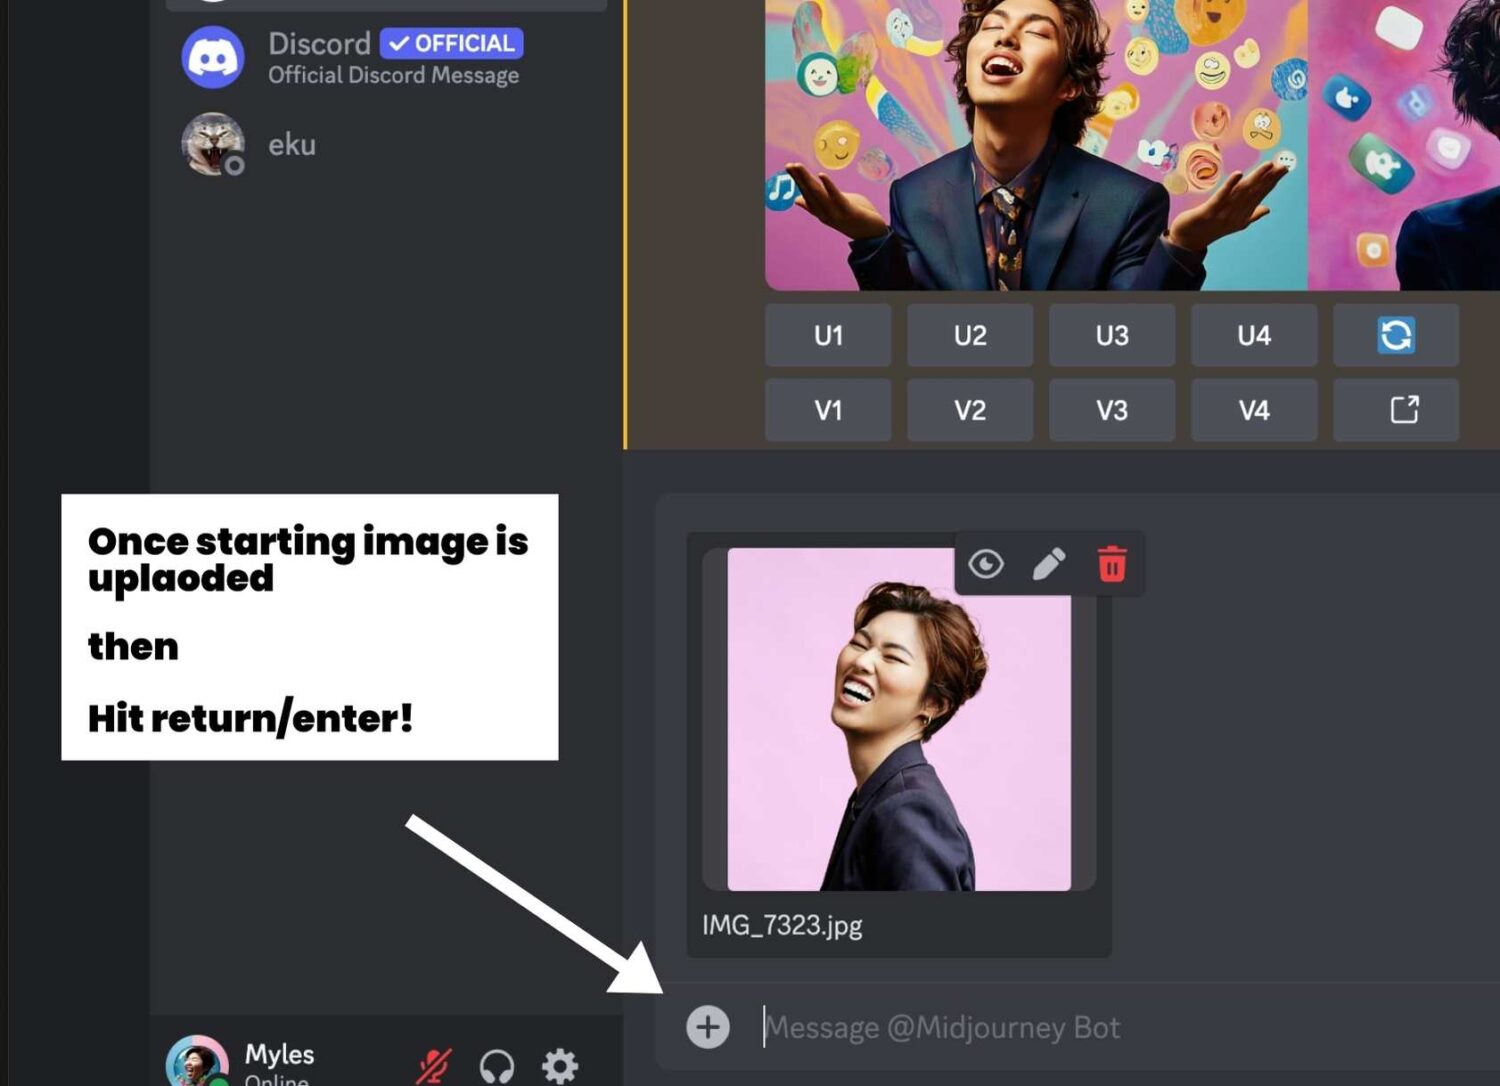
You can see my starting image here. It’s a super fun photo of my client Marie, with a pink background.
Step 2. Copy the link from your starting image.
First click on the image thumbnail in your MidJourney feed.
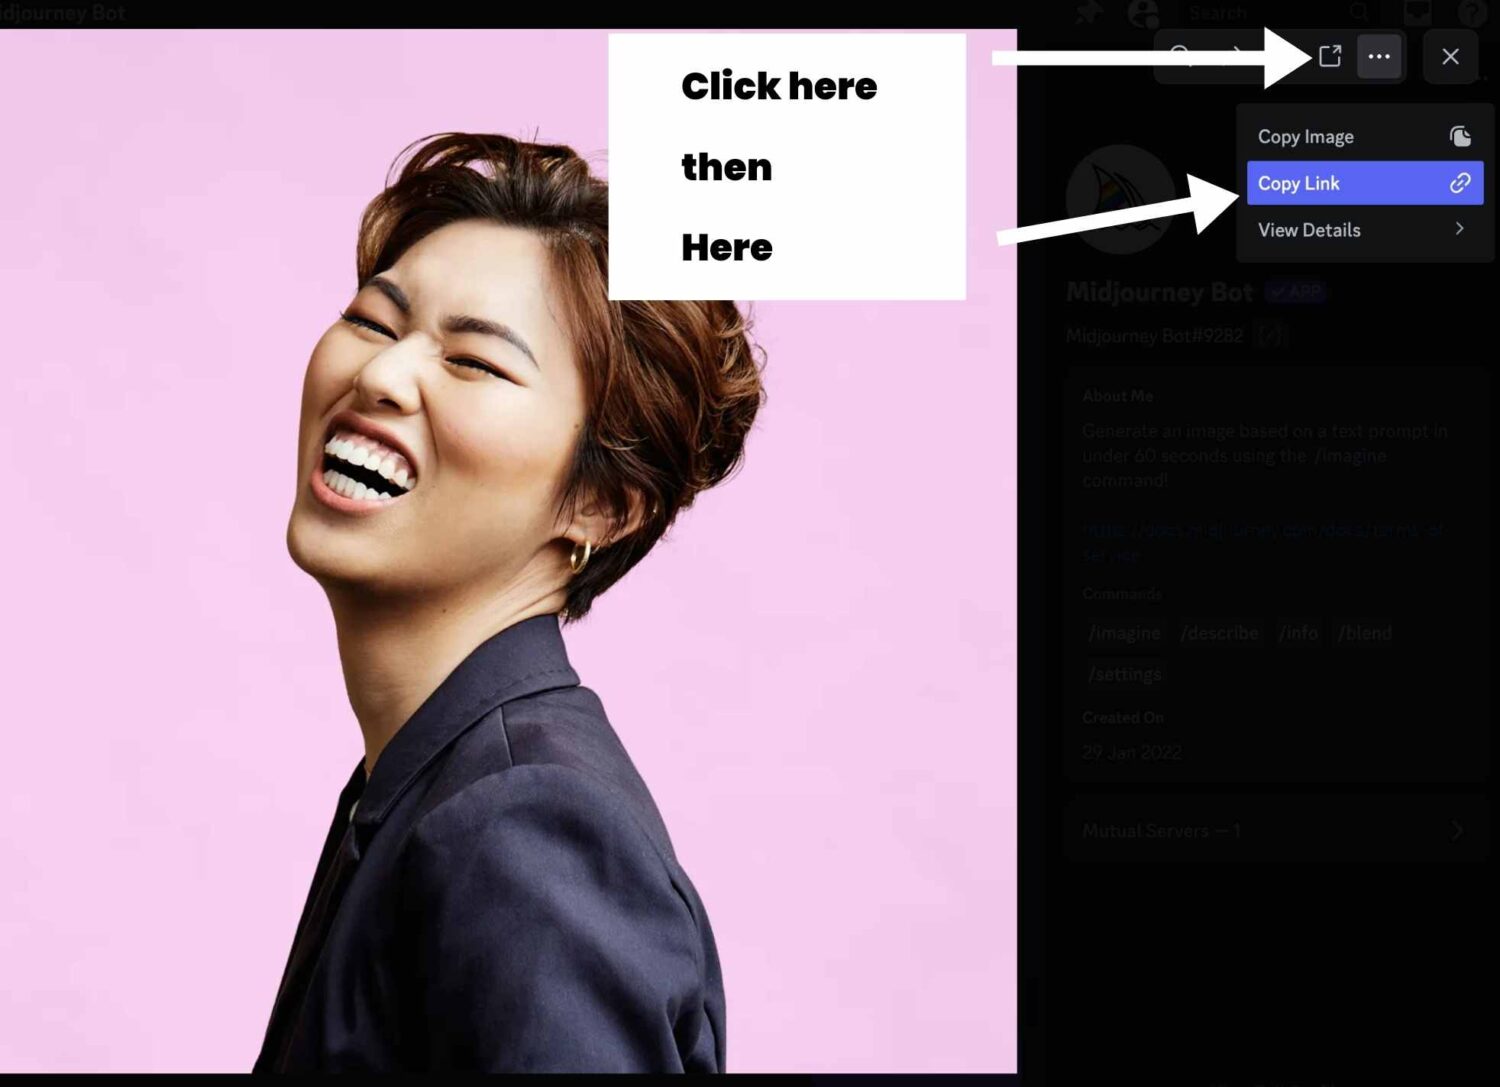
I’ve tried to make this as simple for all you kids as possible. It’s those little details that I find are missing in online instructions. The devil is in the detail as they say. Also not a fan of YouTube tutorials. They always bang on forever and I have to keep rewinding to find the stuff I need.
Step 3. Write your MidJourney prompts.
This is where the magic happens. Prompting basics.
All prompts start with /imagine
Then paste the starting image link that you copied in the previous step.
Which looks like this:

Now I’m writing this blog post for creators who want LinkedIn and social media post covers with a colourful pop art vibe. You might be a LinkedIn creator, an influencer, or anything really.
What’s the secret sauce to creating strong images? Use famous contemporary pop artists in the MidJourney prompt to elevate your images.
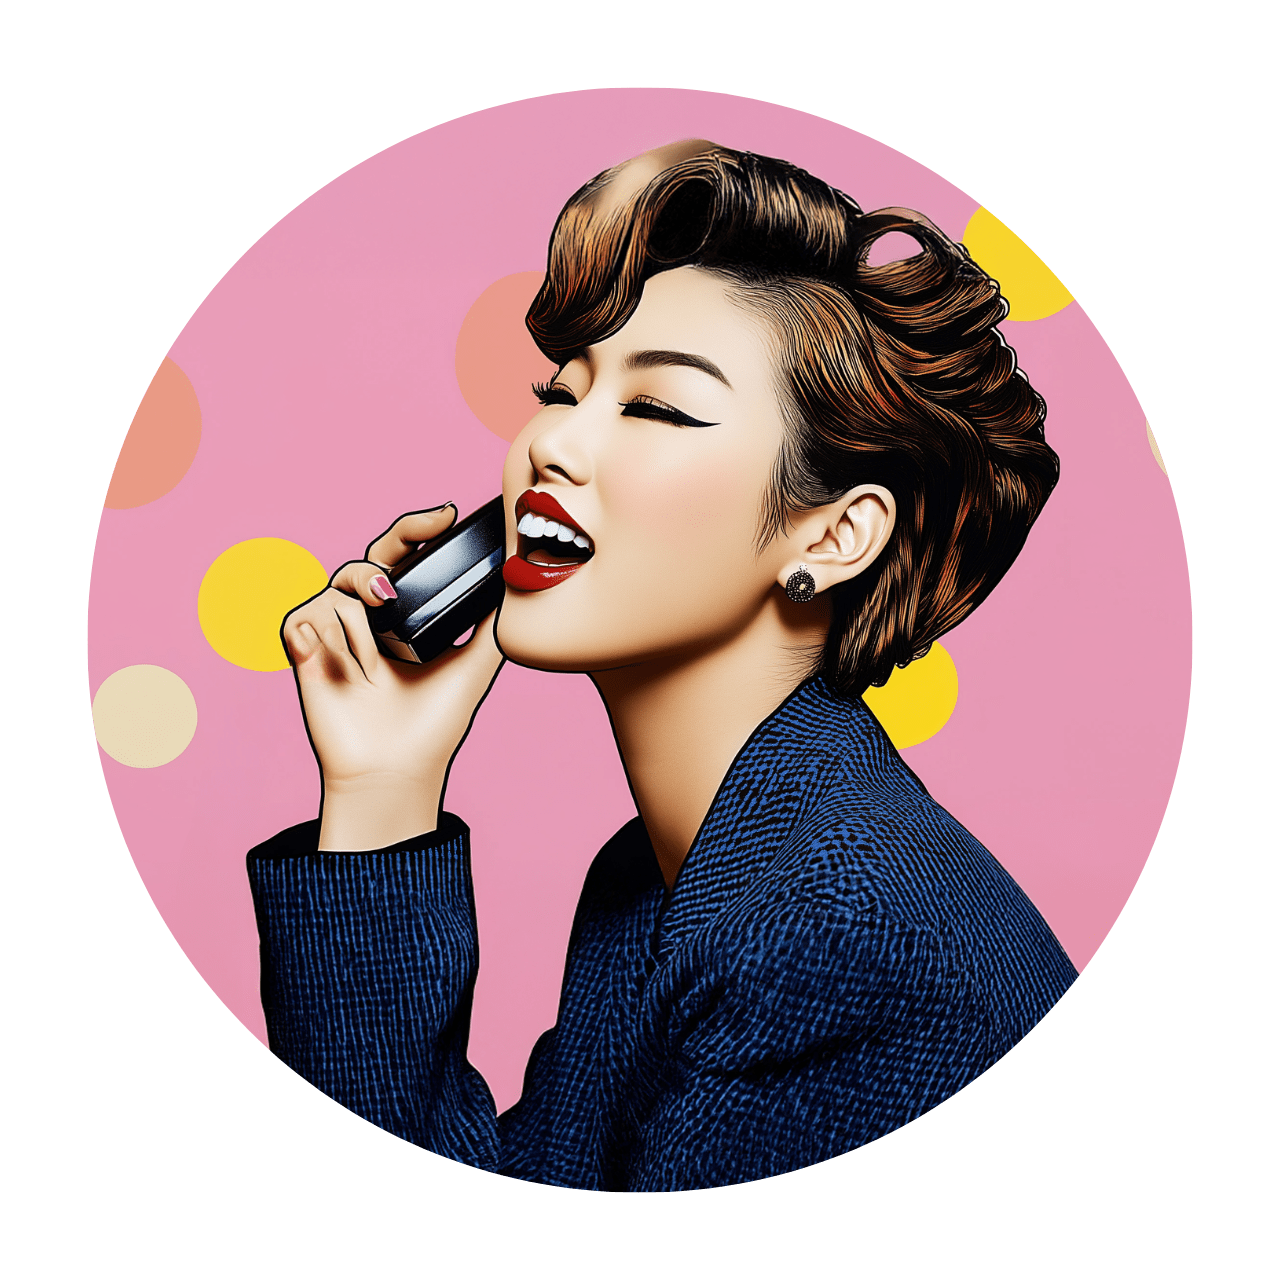
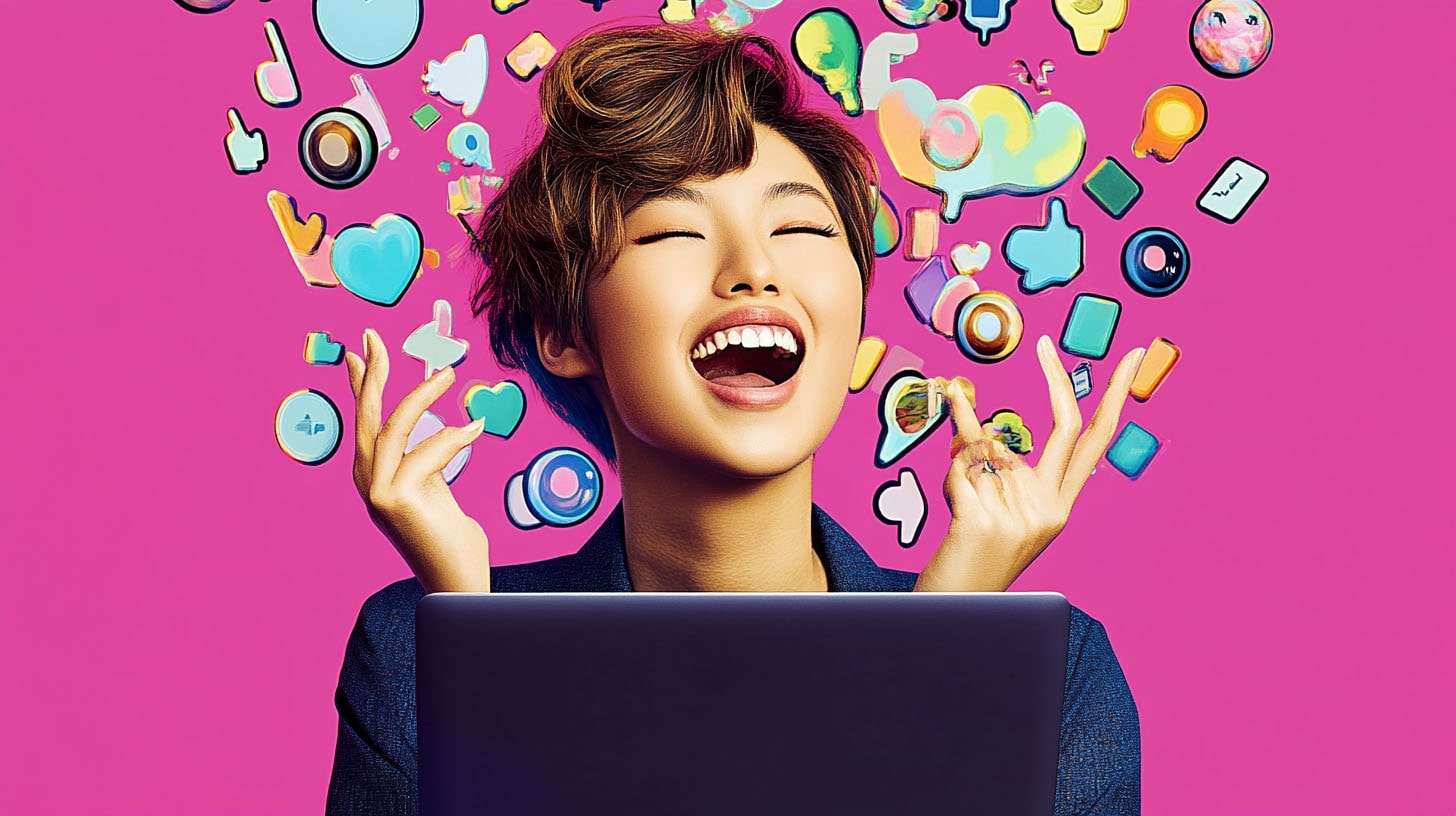
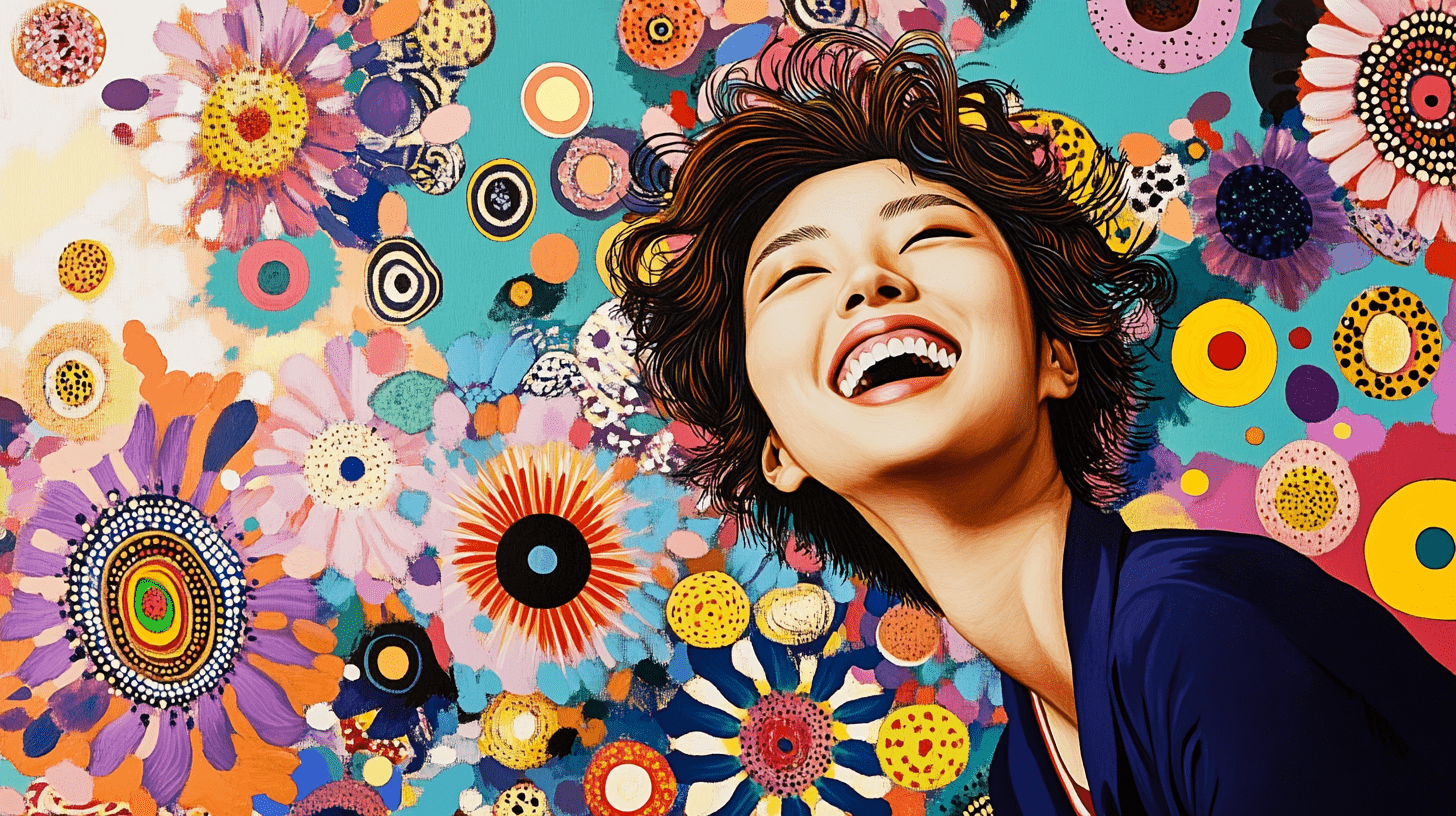
So for the feature image on this post I used the starting image I showed you earlier then:
/imagine URL-Of-Starting-Image talking on the phone in the style of Roy Lichtenstein and Takashi Murakami ‑‑ar 16:9
Roy Lichenstein are two famous modern pop artists. The last bit of the prompt –ar 16:9 is the modifier for aspect ratio of the final image. If you’re making artwork for a vertical social media post or cover you might want to use an aspect ratio like ‑‑ar 9:16
Whenever you enter a prompt in MidJourney, you’ll end up with 4 preview images as a starting point. Like this.
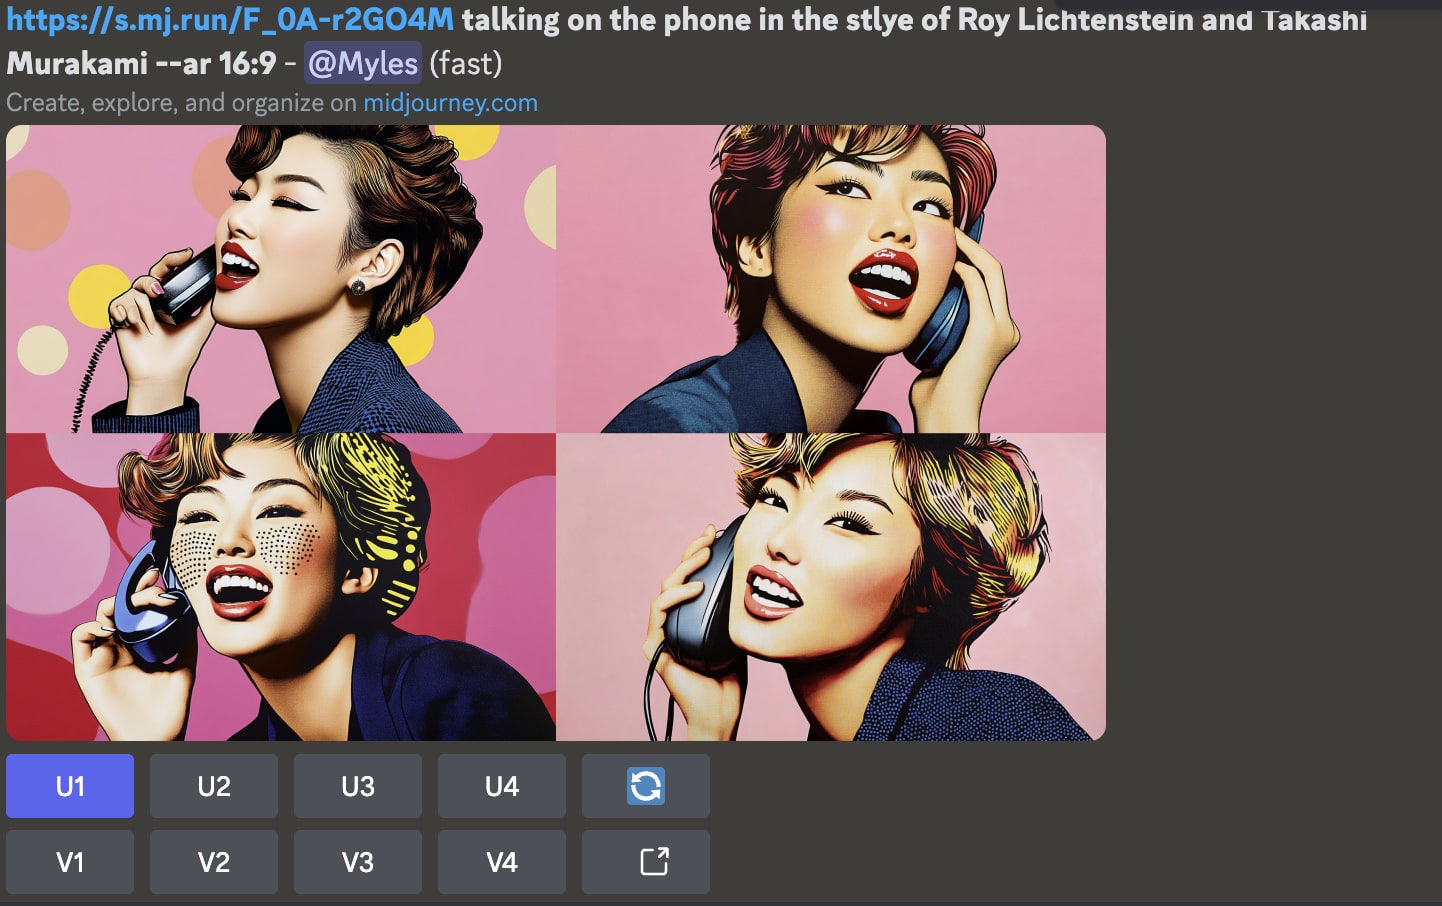
You now have 2 things you can do with these. The first row is U1 to U4. That’s for the previews 1-4, left to right. U means ‘upscale’ where you generate high res versions of your images, and V means ‘variations’. With variations you can alter your image with each iteration. I’m not going to cover this in detail here. There’s many resources on the net. You can also Google ‘MidJourney prompts’.
As you can see in the previous example, the resulting images have taken the pink from the starting image. It can be difficult to change that, that’s why it’s best to have your main desired final colour present in the starting image.
If you want a high res download of the 1st image, click on U1. You can also play with the various options. You can also create variations here.
We end up with this.
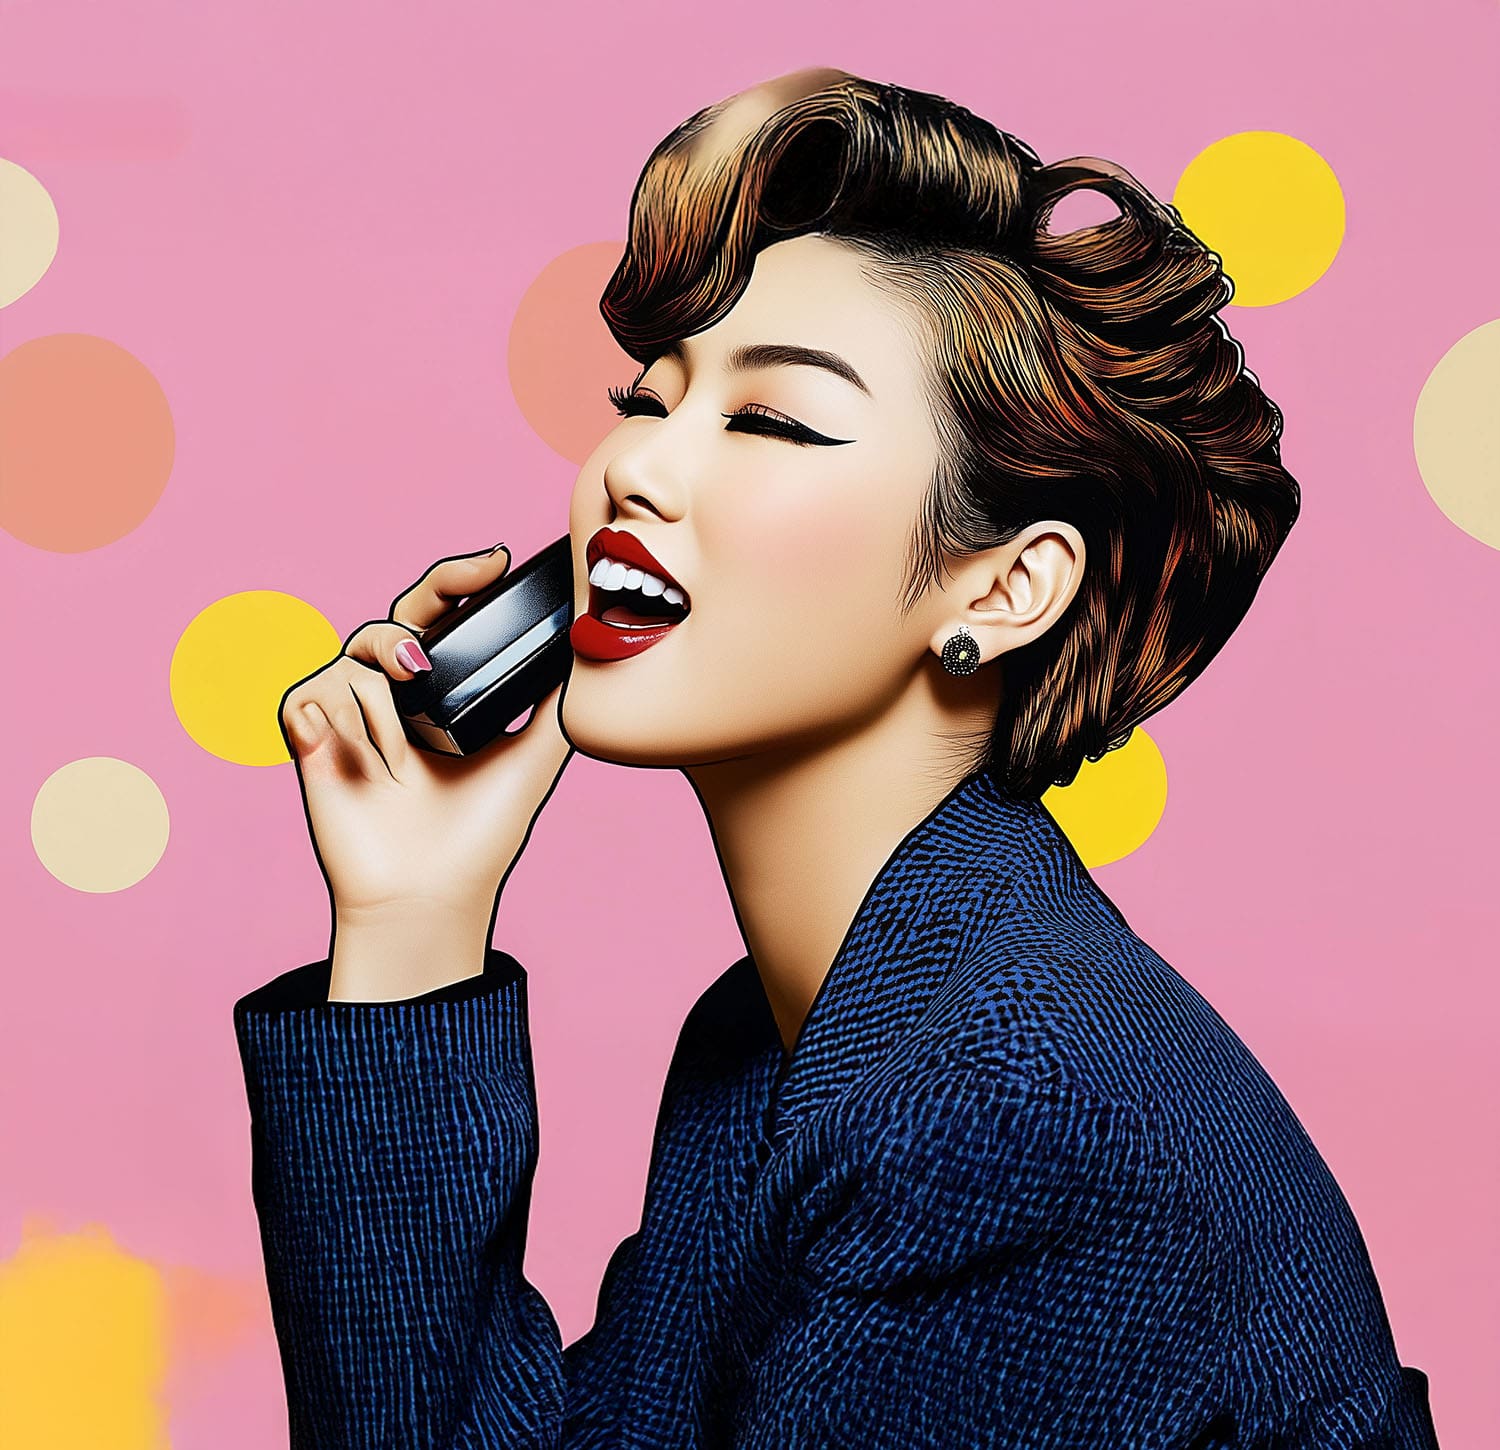
So fun! There are so many different prompts you can do in MidJourney, you’re only limited by your imagination.
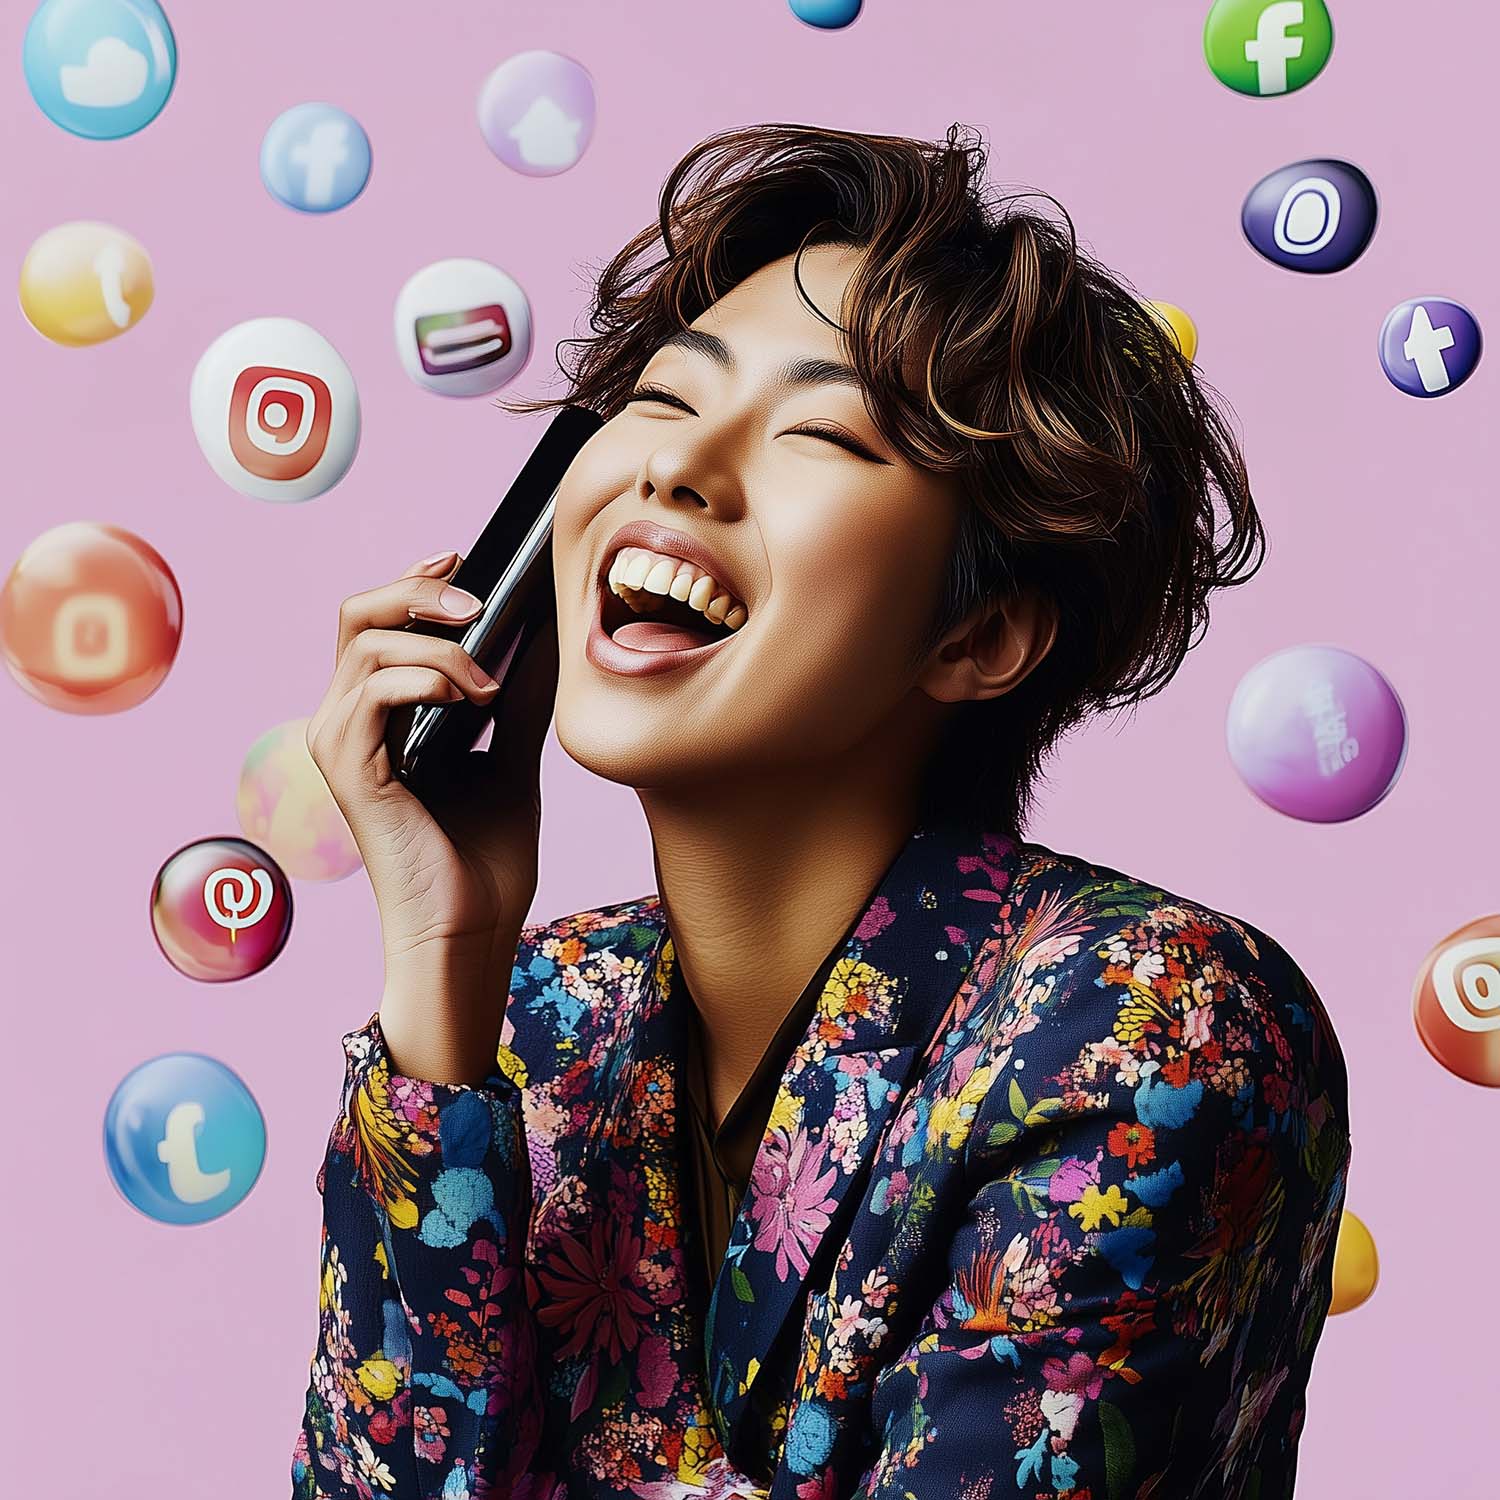
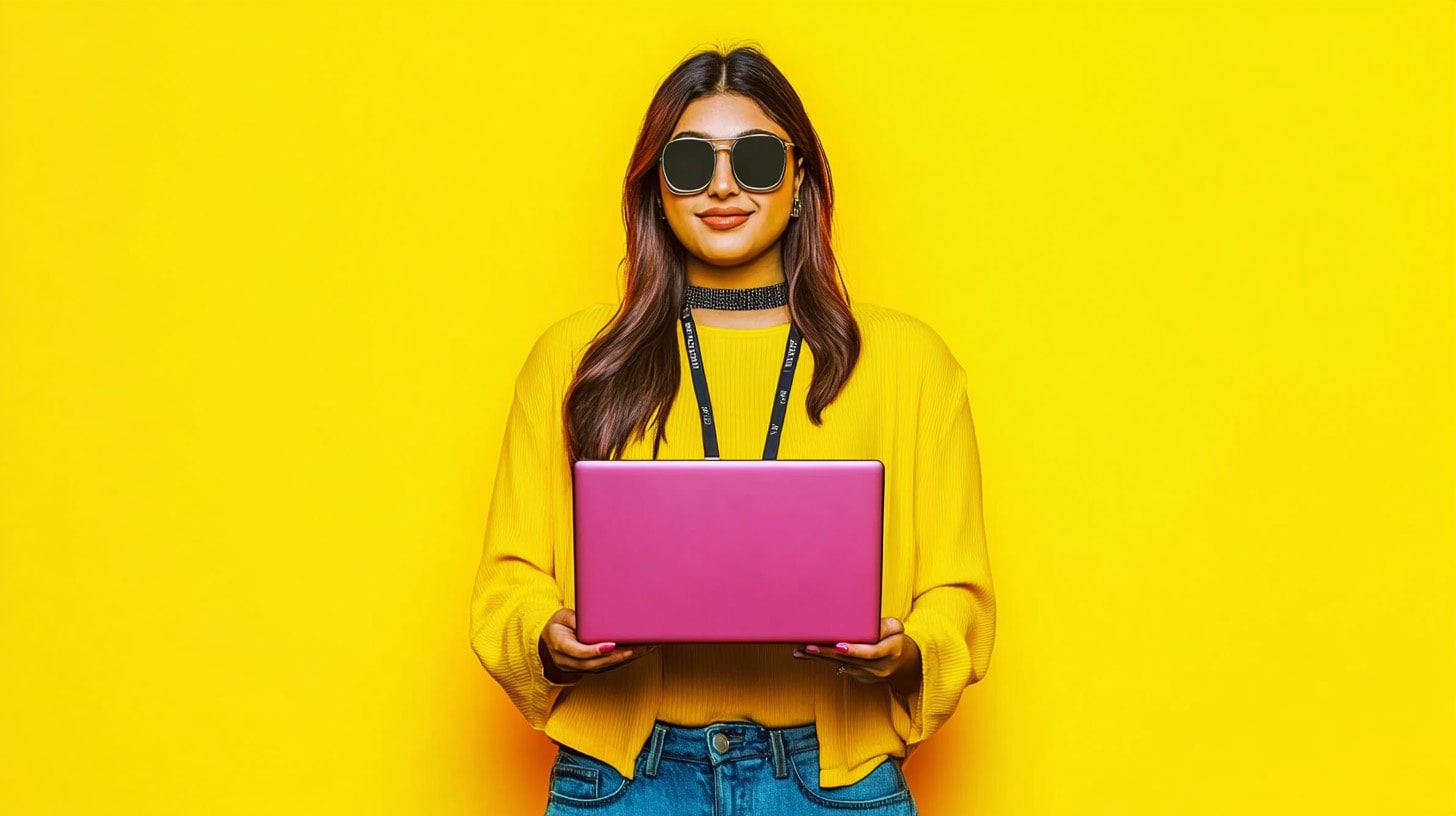
What if you’re a social media manager, and you want a blog post cover that signals that?
How’s this?
/imagine STARTINGIMAGEURL holding a laptop surrounded by social media icons in the style of takashi murakami and jeff koons ‑‑ar 16:9
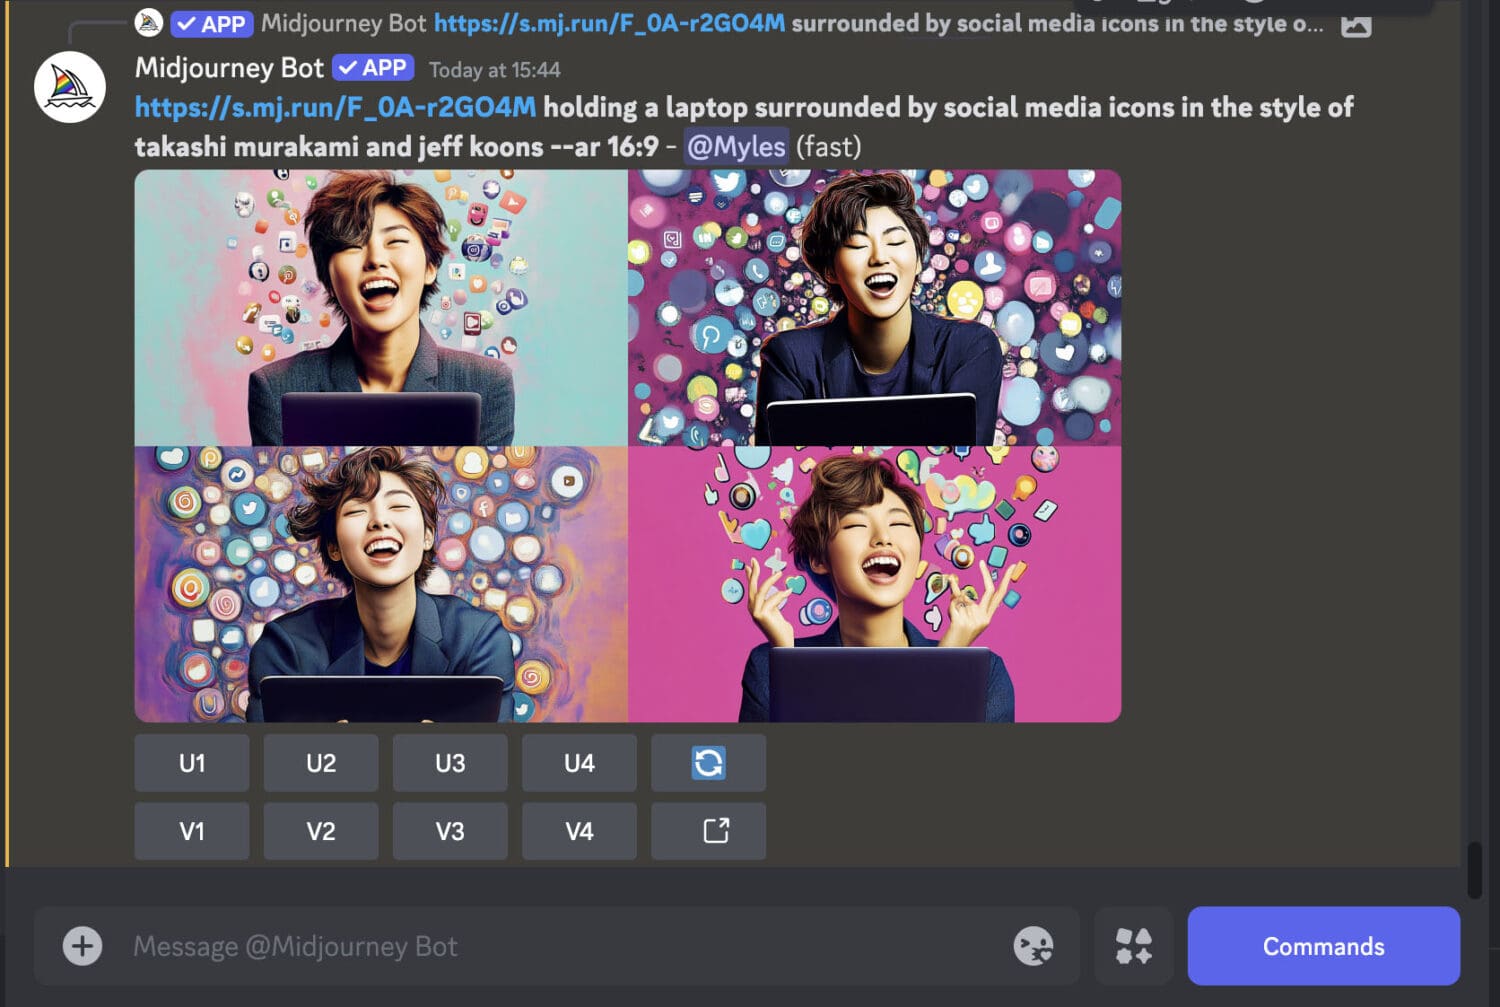
And downloading the image ends up with this:
I love to use pop artists in my MidJourney prompts as it suits my style which is graphic and clean. You can also mix in some photographers too.
A bit of art history knowledge will come in handy here. But here’s some incredible artists and photographers to get you started. Experiment mixing and matching them.
Yayoi Kusama. Takashi Murakami. Andy Warhol. Jeff Koons. Damien Hirst. David Hockney. Roy Lichtenstein. Tracy Emin. David LaChapelle. Keith Haring. Mert & Marcus. Helmut Newton. Banksy. Jean-Michel Basquiat
Jeff Koon and Takashi Murakami are two of my faves. Please don’t use this art commercially and only for social media or blog posts. That would make me sad if you profit off the artists.
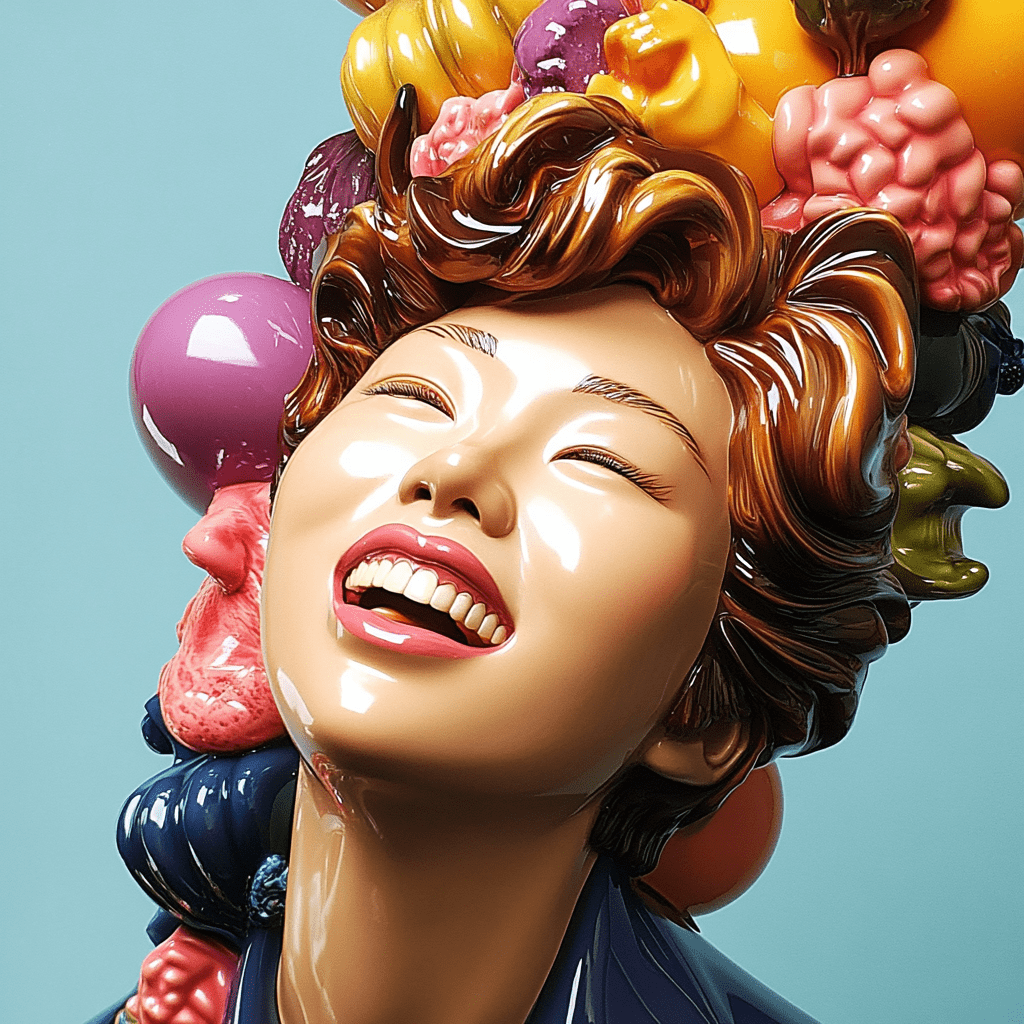
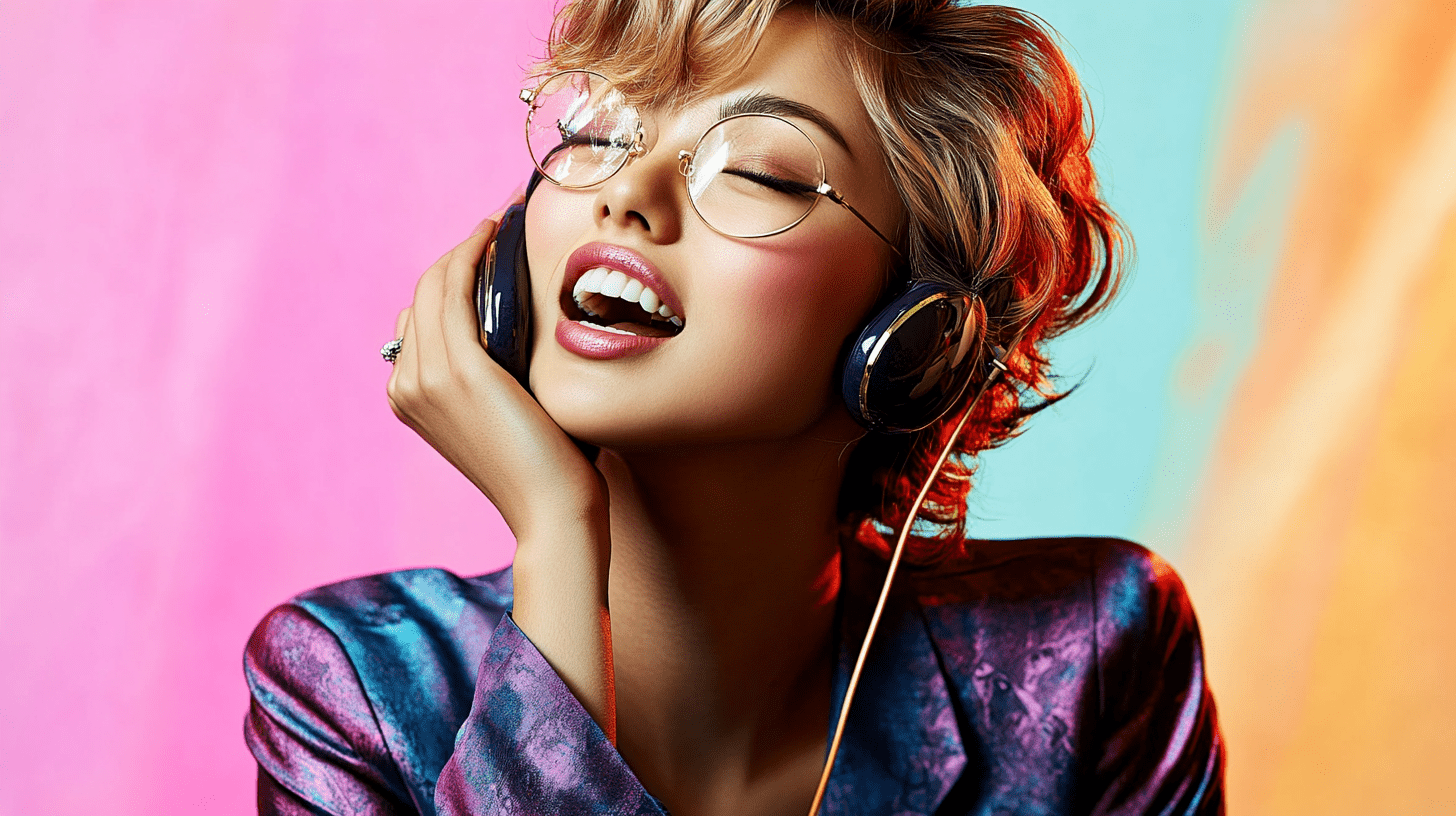
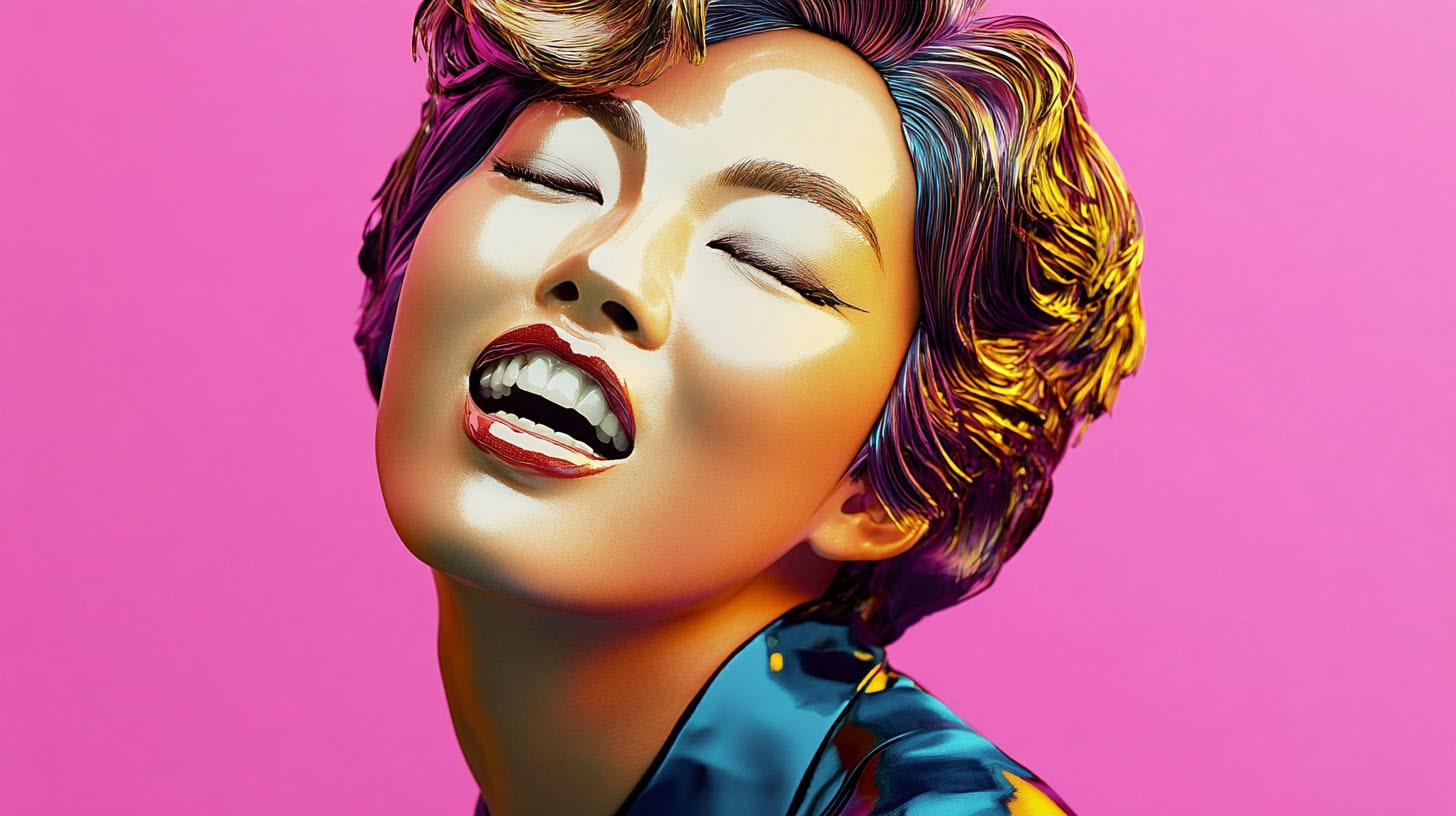
Here’s some more examples with this starting image:
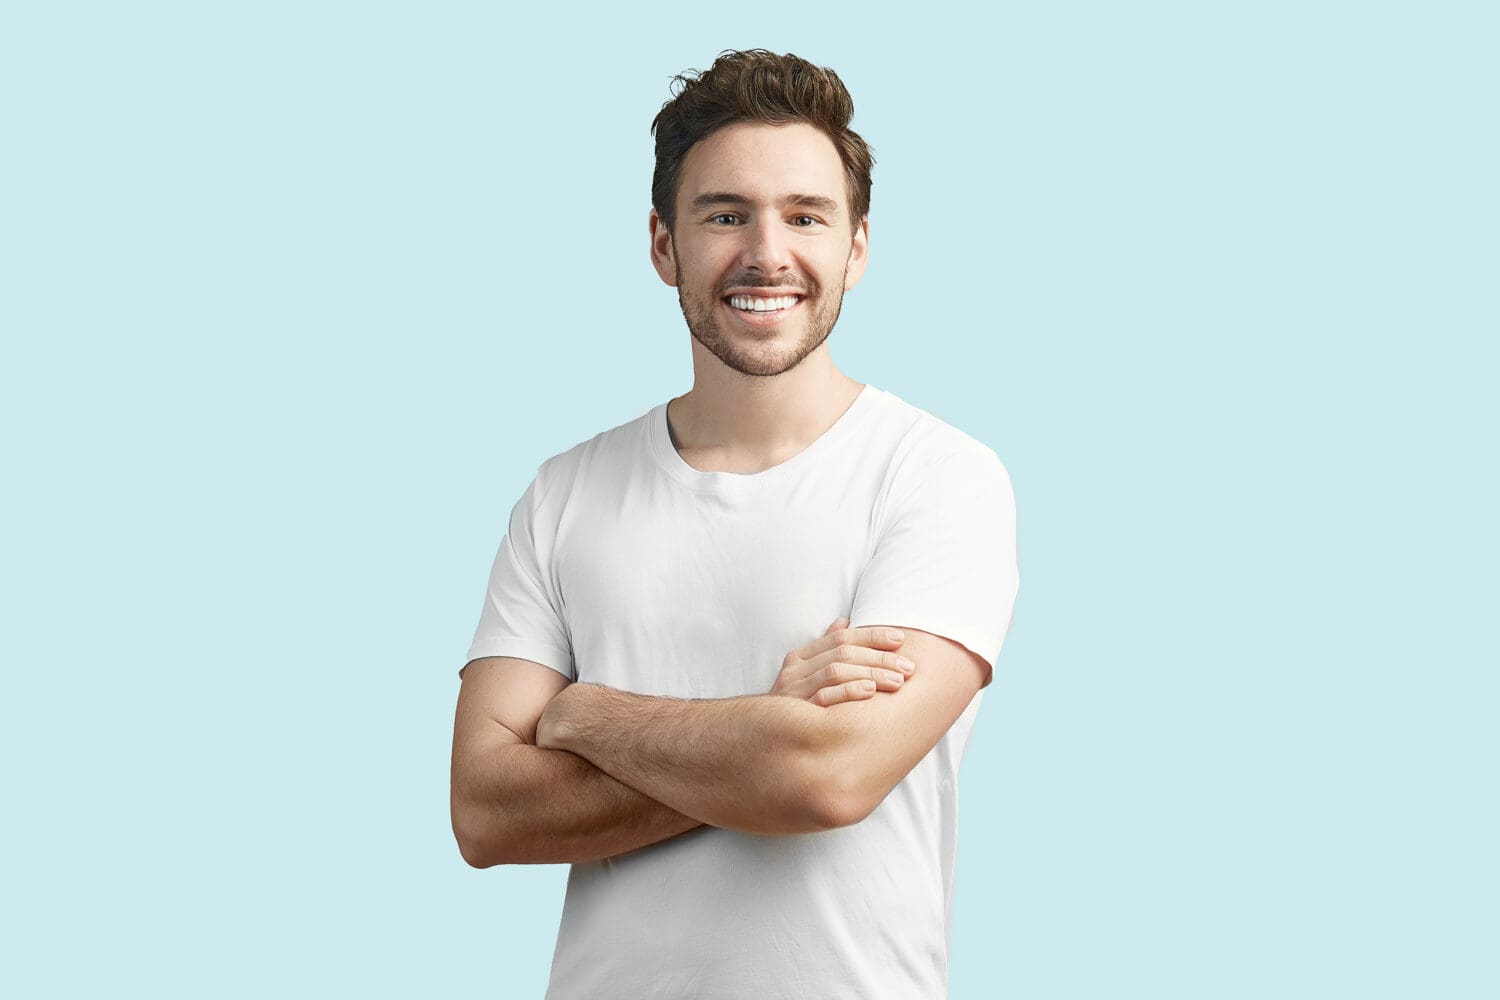
Again a really strong, clean starting image with the brand colours in the background.
The prompt?
/imagine IMAGEURL talking on the phone in the style of jeff koons and takashi murakami ‑‑ar 16:9
Ends up with this:
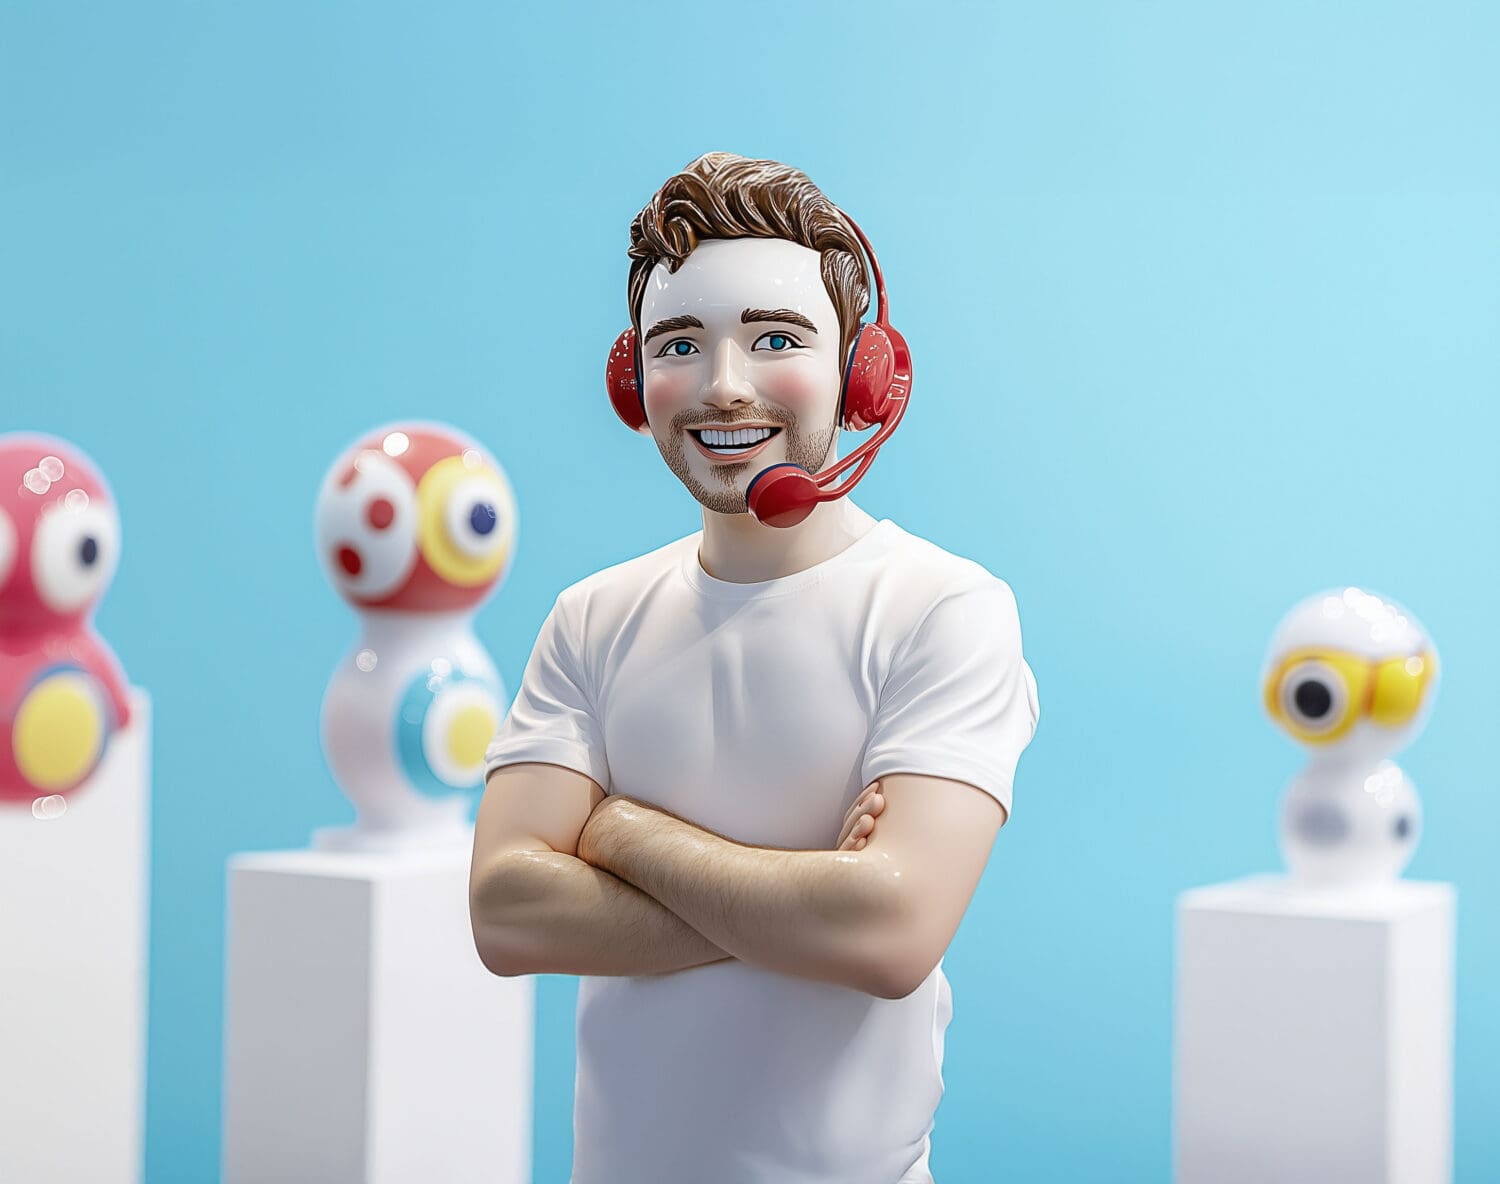
Gorgeous!
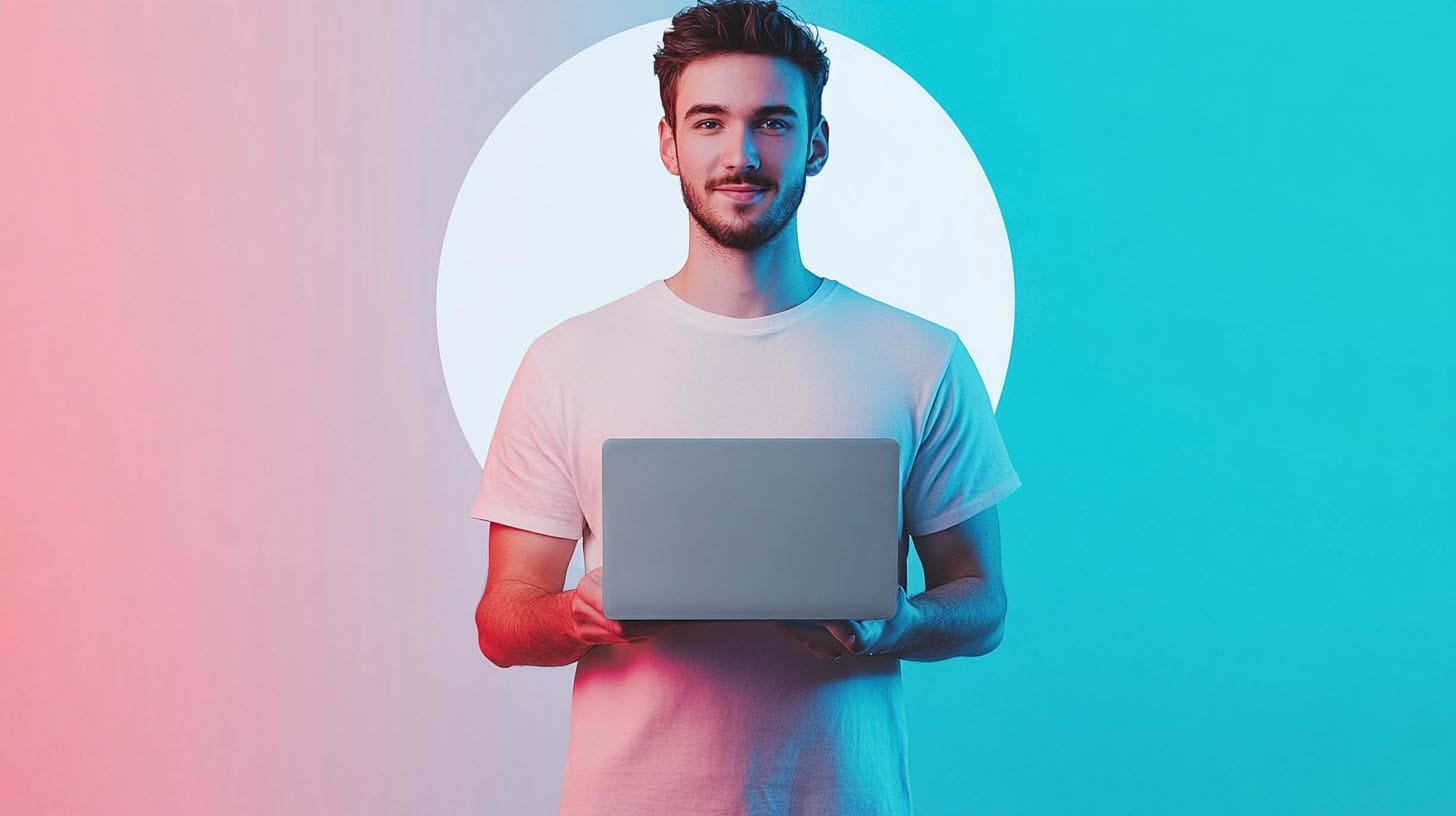
What if you want a graphic that’s a bit simpler, not so out there?
You can still add some graphic element into it using the prompt. I like to add a graphic shape like circles.
/imagine IMAGEURL holding a laptop in a bright colourful image with a white circle in the foreground ‑‑ar 16:9
And we end up with this:
What about a real estate agent?
/imagine IMAGE URL sitting on the roof of a house in the style of Jeff Koons and Takashi Murakami ‑‑ar 16:9
And we get this:
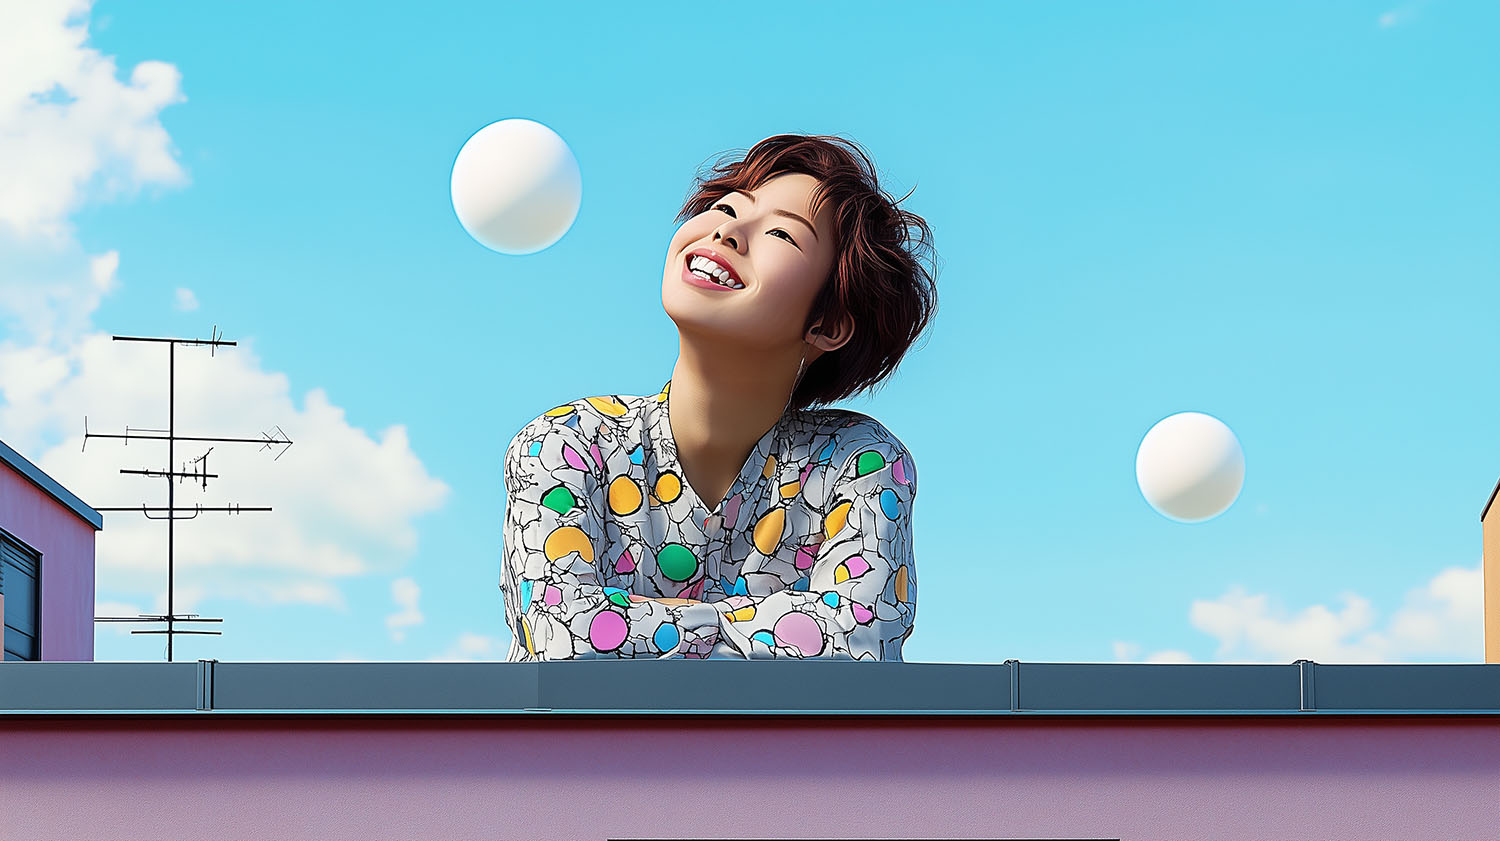
Same starting image as previously.
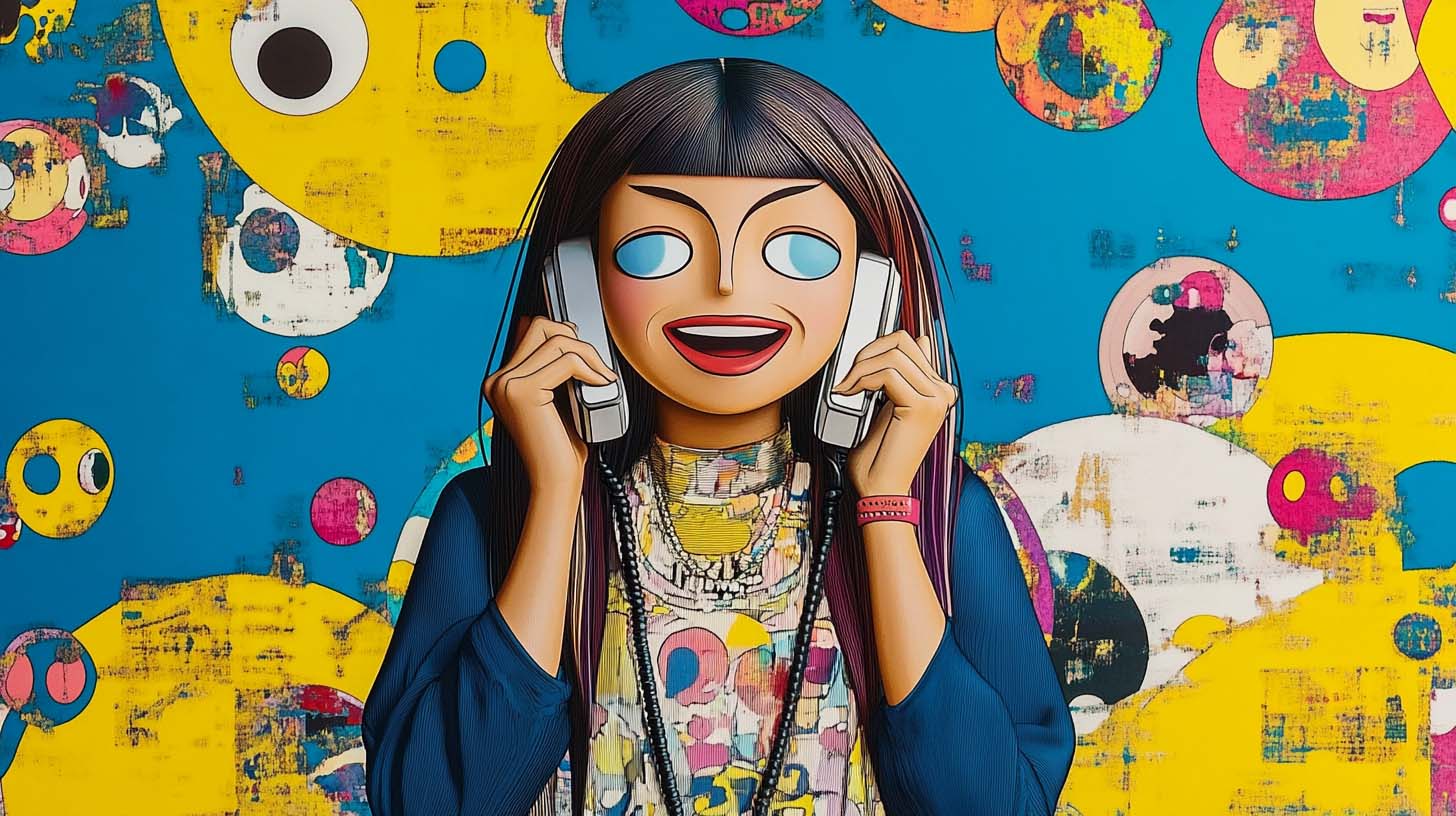
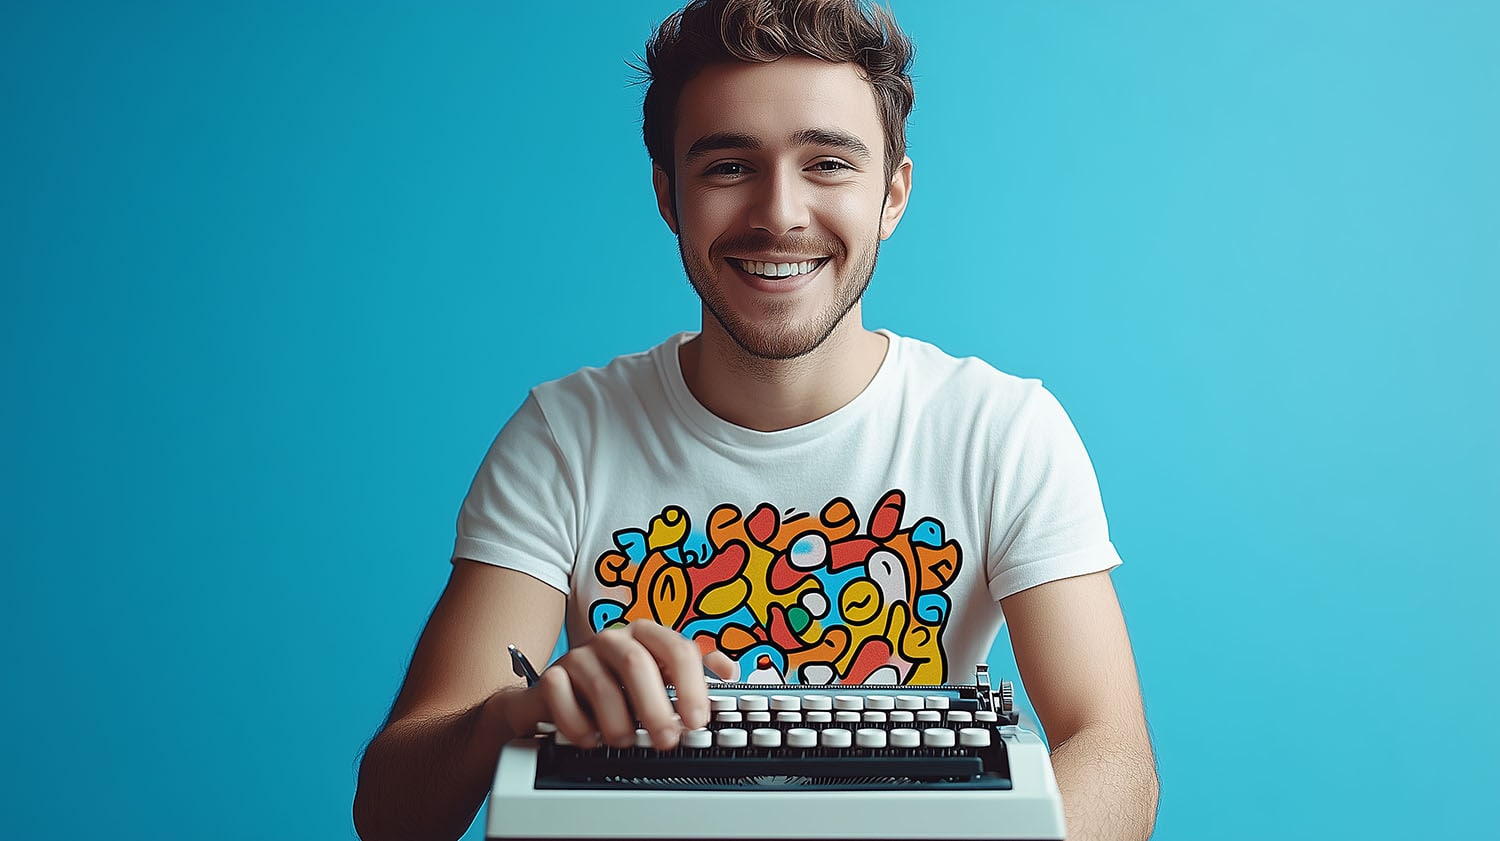
How about a blog post for a copywriter?
/imagine IMAGEURL typing at a typewriter in the style of takashi murakami and Keith Haring ‑‑ar 16:9
Let’s start with this image now:
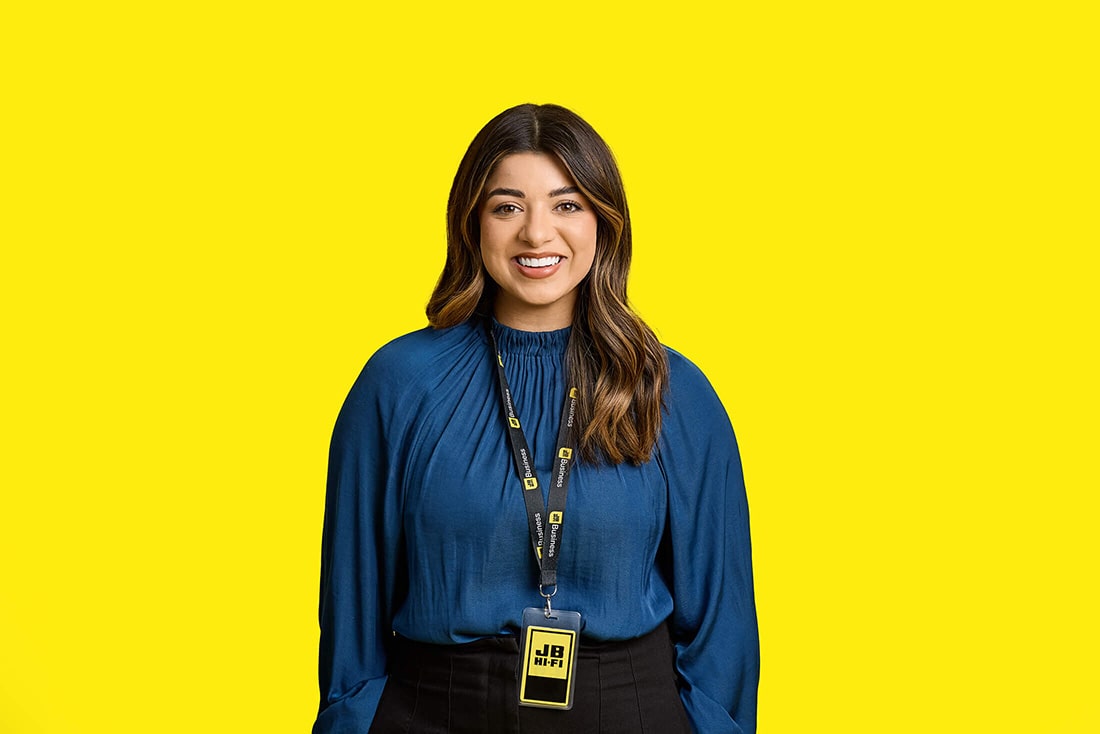
And use this Midjourney prompt:
/imagine STARTIMAGEURL holding a laptop in the style of jeff koons –ar 16:9
And we get this:
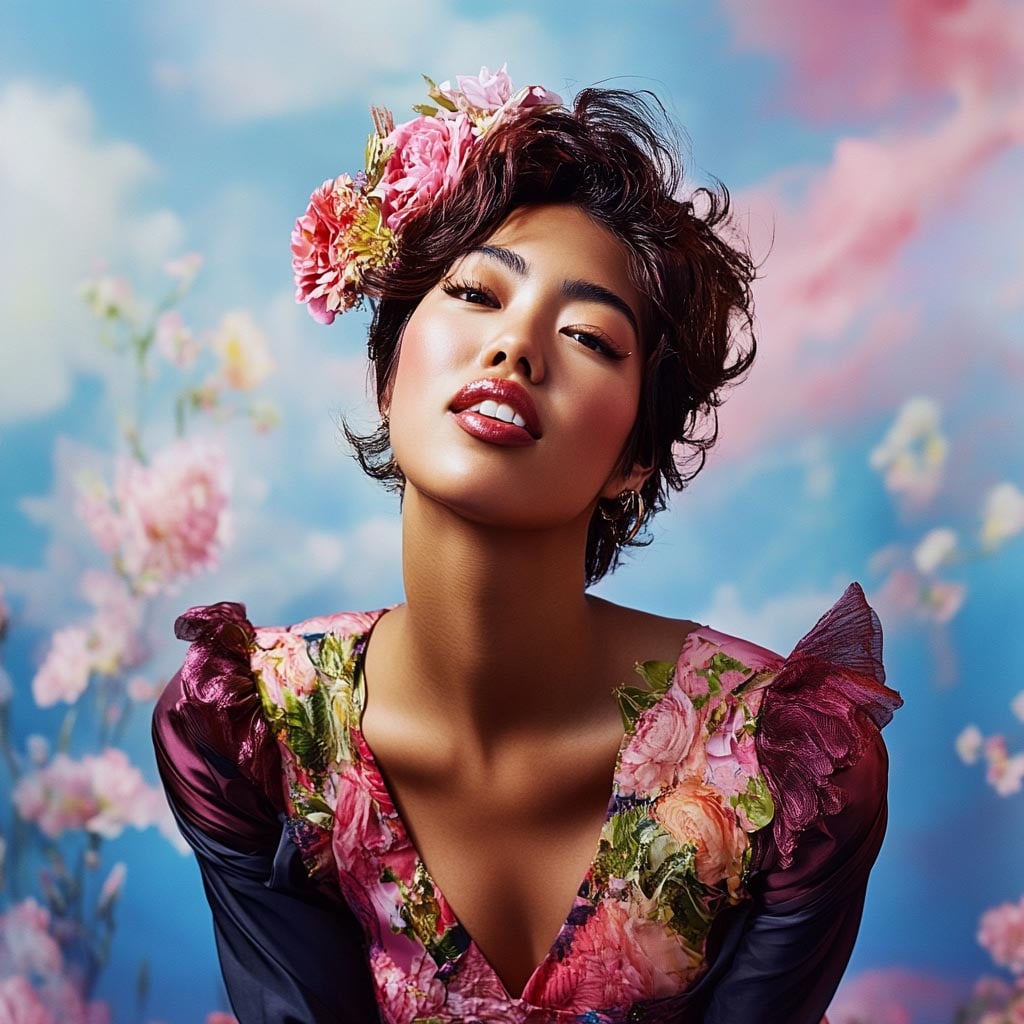
LaChapelle
Again in this example you can see the dominant colour in the starting image is present in the MidJourney generated image.
I hope these examples have given you some inspiration.
And of course if you’re in Melbourne hit us up for some fresh new headshots.
Published by
Myles Formby is an award winning headshot and personal branding photographer based in Melbourne. He is the founder of Photoform*.
His work is technically precise and full of life. He has developed a reputation for extracting natural performances on camera from anyone.
He has worked as an editorial and fashion photographer and has a deep understanding of colour and lighting.
He's been published in Vogue and worked for national brands like Westfield and JB Hi-Fi.


Copyright Myles Formby Photoform* 2025. All rights reserved. Unauthorised use of images and content is prohibited without prior written permission.


share this post